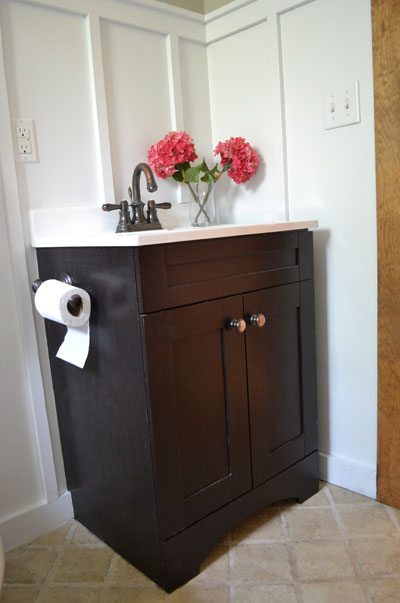
Bathroom Vanity
Build a small bath vanity with storage. These simple, step by step woodworking plans are designed for the beginner and can be built from a single sheet of plywood.
Shopping List:
- 1 Sheet of 3/4″ Plywood
- 1 – 1×3 @ 8 feet long
- 1 – 1×6 @ 4 feet long (optional)
- 1 – 1×2 – 1/4″ thick stock @ 8 feet long (optional decorative door trim)
- 1 – 25 foot long roll edge banding for stained finishes
- 3/4″ finish nails or brad nails if you are applying decorative trim
- Either pocket hole screws or countersunk screws/finish nails
- 2 inch screws
- 1 1/4 inch finish nails
- 1-1/4″ Pocket Hole Screws
- Elmer’s Wood Glue
- Elmer’s Wood Filler
- 120 grit sandpaper
- Primer
- wood conditioner
- paint
- paint brush

Cut List:
- 1 – 3/4″ Plywood @ 22 1/2″ x 18″
- 2 – 3/4″ Plywood @ 32″ x 18″
- 2 – 3/4″ Plywood @ 30 3/4″ x 12″
- 2 – 1×6 OR 3/4″ Plywood @ 24″
- 4 – 1×3 @ 24″
- Cut trim pieces to fit door faces

Step 1:
Cut plywood as shown above, with the grain, cutting long cuts first. So you would cut an 18″ wide strip off of your plywood, and then from that 18″ strip, cut the sides and shelf. You can ask the lumber store to make the cuts for you, and your plywood will be easier to transport and store.

Step 2:
Place the bottom shelf as shown above between the sides, either using the Kreg Jig or countersunk screws or 2″ finish nails and wood glue.

Step 3:
Attach the 1x3s as shown above. The front 1×3 needs to be placed with a 4″ space above it. The back 1x3s need to be placed at the top, bottom of the bottom shelf, and centered.

Step 4:
Now the toe kick. Cut out and attach with 2″ finish nails and wood glue.

Step 5:
Now the front apron. Same thing.

Step 6:
For the front apron, you can glue and attach the 1/4″ trim pieces as shown above.

Step 7 Instructions:
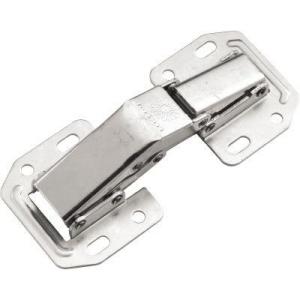
And the doors. You can attach trim pieces as well. The best hinges I’ve found for doors like these (full overlay) are these ones from the Home Depot
Preparation Instructions:
Fill all holes with wood filler and let dry. Apply additional coats of wood filler as needed. When wood filler is completely dry, sand the project in the direction of the wood grain with 120 grit sandpaper. Vacuum sanded project to remove sanding residue. Remove all sanding residue on work surfaces as well. Wipe project clean with damp cloth. It is always recommended to apply a test coat on a hidden area or scrap piece to ensure color evenness and adhesion. Use primer or wood conditioner as needed.
The original plan can be found at http://www.ana-white.com
![]() [email_link]
[email_link]