Rustic Headboard
| Board Size | King | California King | Queen | Full | Twin |
|---|---|---|---|---|---|
| 1x2 | 2 @ 8' | 2 @ 8' | 2 @ 8' | 2 @ 8' | 2 @ 8' |
| 1x3 | 7 @ 8' | 7 @ 8' | 7 @ 8' | 7 @ 8' | 7 @ 8' |
| 1x4 | 9 @ 8' | 9 @ 8' | 4 @ 10' 1 @ 6' | 4 @ 10' 1 @ 6' | 4 @ 8' 1 @ 4' |
| 1x6 | 3 @ 8' | 3 @ 8' | 3 @ 6' | 1 @ 10' 1 @ 6' | 1 @ 12' |
| 2x4 | 1 @ 8' | 1 @ 8' | 1 @ 8' | 1 @ 8' | 1 @ 8' |
| King | California King | Queen | Full | Twin | |
|---|---|---|---|---|---|
| Dimensions | 81 1/2" Wide x 57 1/4" Tall | 77 1/2" Wide x 57 1/4" Tall | 65 1/2" Wide x 57 1/4" Tall | 49 1/2" Wide x 57 1/4" Tall | 44 1/2" Wide x 57 1/4" Tall |
| Leg Pieces | 6 - 1x3 cut at 55" long | 6 - 1x3 cut at 55" long | 6 - 1x3 cut at 55" long | 6 - 1x3 cut at 55" long | 6 - 1x3 cut at 55" long |
| Inside leg Piece | 2 - 1x2 cut at 55" long | 2 - 1x2 cut at 55" long | 2 - 1x2 cut at 55" long | 2 - 1x2 cut at 55" long | 2 - 1x2 cut at 55" long |
| Smaller Panel Pieces | 5 - 1x4 cut at 76" long | 5 - 1x4 cut at 72" long | 5 - 1x4 cut at 60" long | 5 - 1x4 cut at 54" long | 5 - 1x4 cut at 39" long |
| Larger Panel Pieces | 3 - 1x6 cut at 76" long | 3 - 1x6 cut at 72" long | 3 - 1x6 cut at 60" long | 3 - 1x6 cut at 54" long | 3 - 1x6 cut at 39" long |
| Panel Trim, Front and Back | 4 -1x4 cut at 74" long | 4 - 1x4 cut at 70" long | 4 - 1x4 cut at 58" long | 4 - 1x4 cut at 52" long | 4 - 1x4 cut at 37" long |
| Top Trim | 1 - 1x3 cut at 80 1/2" long | 1 - 1x3 cut at 76 1/2" long | 1 - 1x3 cut at 64 1/2" long | 1 - 1x3 cut at 48 1/2" long | 1 - 1x3 cut at 43 1/2" long |
| Top | 1 - 2x4 cut at 81 1/2" long | 1 - 2x4 cut at 77 1/2" long | 1 - 2x4 cut at 65 1/2" long | 1 - 2x4 cut at 49 1/2" long | 1 - 2x4 cut at 44 1/2" long |
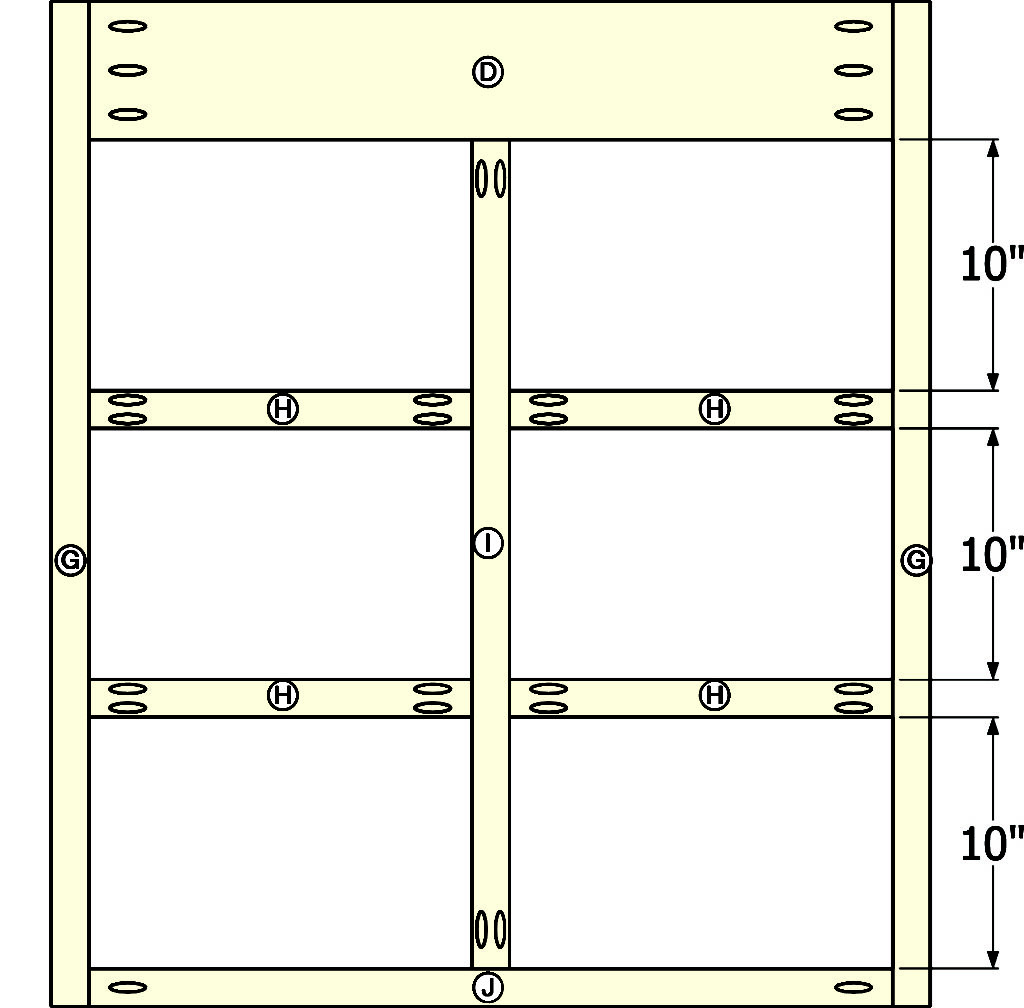
Apply glue to one side of a 1×2 inside leg piece. Lay the 1×2, glue side down, on top of a 1×3 leg piece, lining up outside edge and ends. Nail the 1×2 to the 1×3 every 6-8 inches with 1-1/4 inch nails. Build two of these legs as illustrated above. Tip: As you nail down boards, adjust boards to keep outside edges flush.
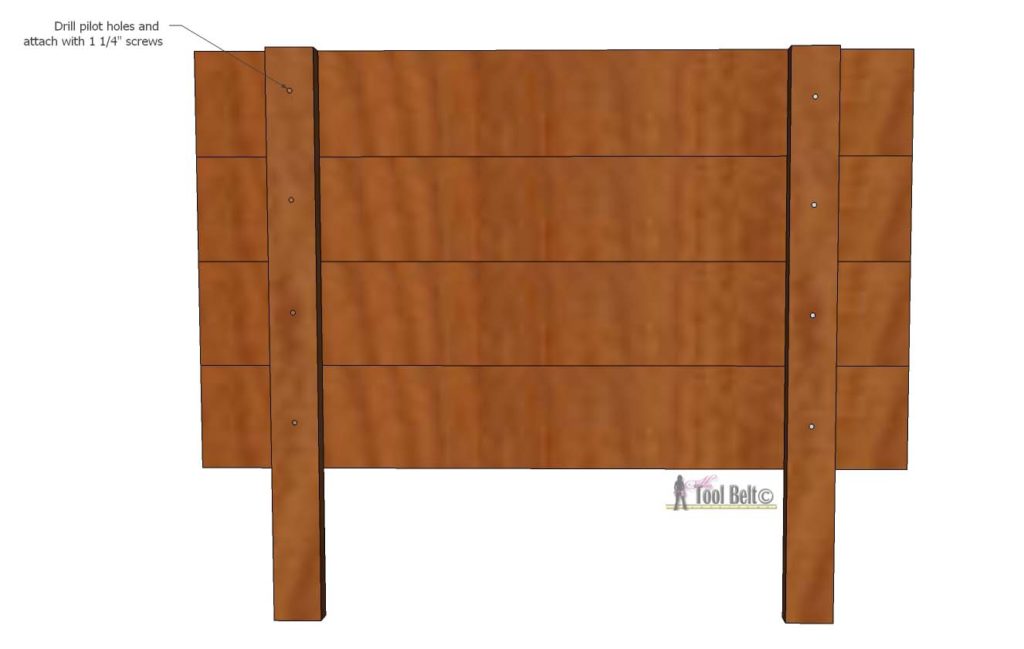
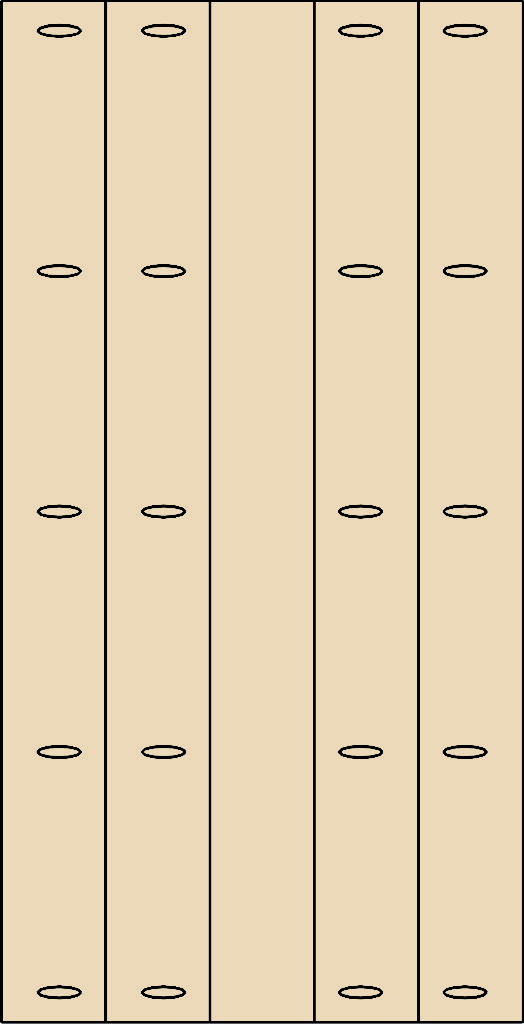
Beginning at the top of the headboard, apply glue to ends of a 1×4 panel board. Lay 1×4 panel board on top of legs, and nail down with 1-1/4 inch nails. Use two nails on each end, nailing both sides of panel boards to the legs as illustrated above. Nail remaining panel boards to the legs, using glue and 1-1/4 inch nails, referencing the pattern above for alternating 1x4s and 1x6s. Tip: For increased rustic character, chisel or distress panel boards prior to nailing to the legs, focusing on edges to enhance the planked headboard look.
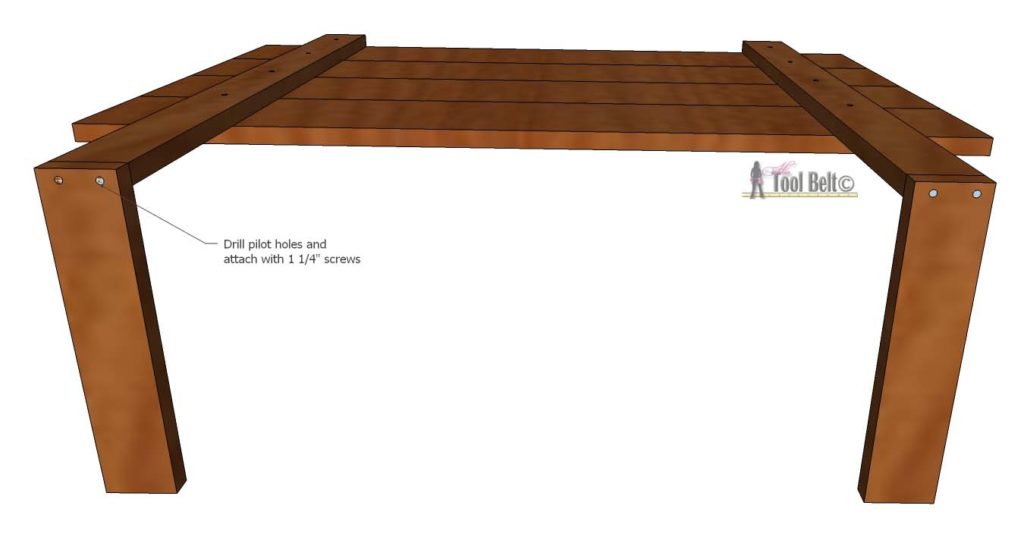
Apply glue to one side of two 1×3 leg pieces and place on headboard legs as shown in illustration. Nail every six to eight inches using 2-inch nails, making sure to keep top and outside edges flush.
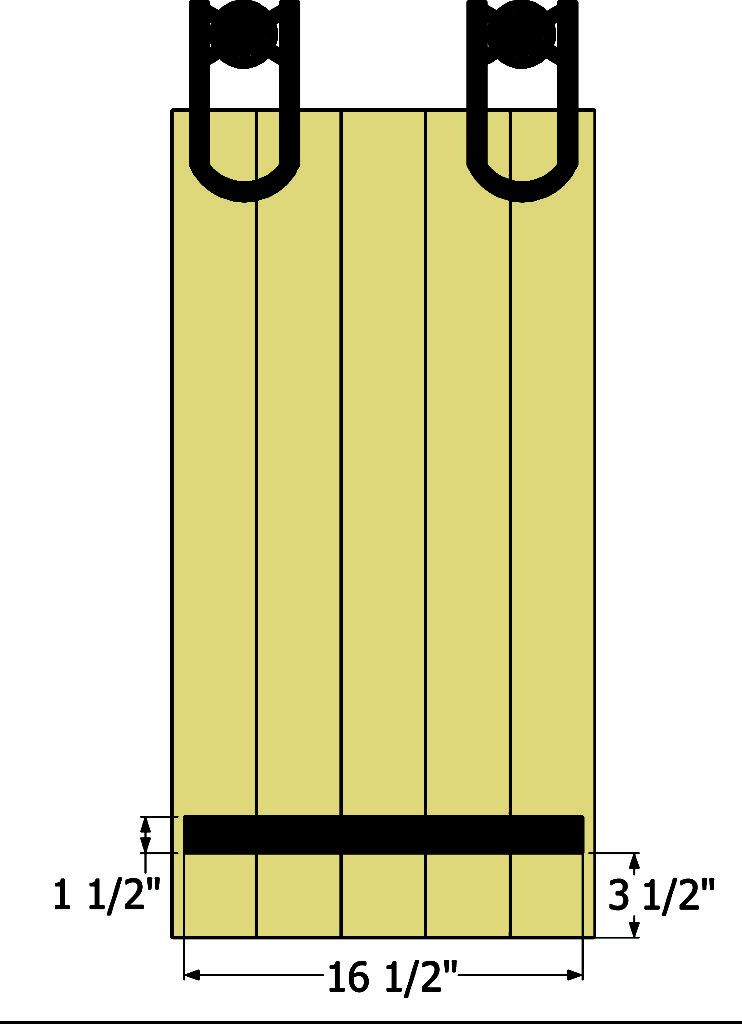
Trim the headboard tops and bottoms by applying glue to 1×4 panel trim boards and nailing panel trim boards to the tops and bottoms of both sides of headboard. Use 1-1/4 inch nails and keep outside edges flush.
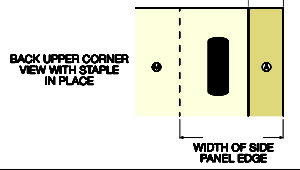
With headboard facedown (the front of the headboard will have minimal nails showing), apply glue then nail remaining two leg pieces to the sides of legs. Keep the front edge flush, but the back may have a slight overhang. Use 2-inch nails every 6-8 inches.
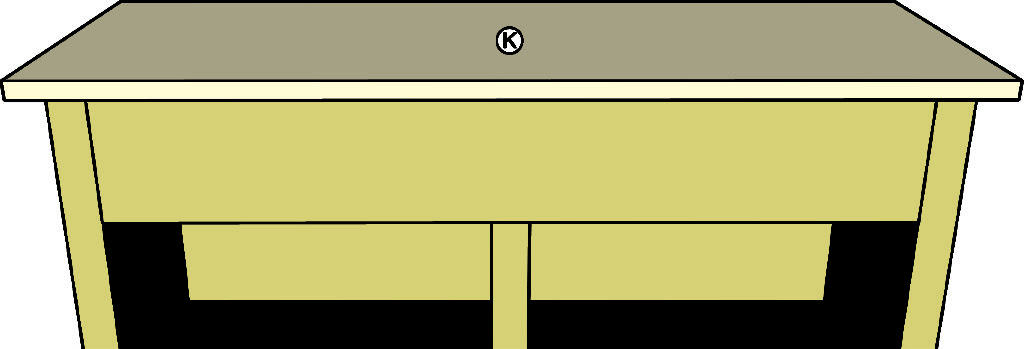
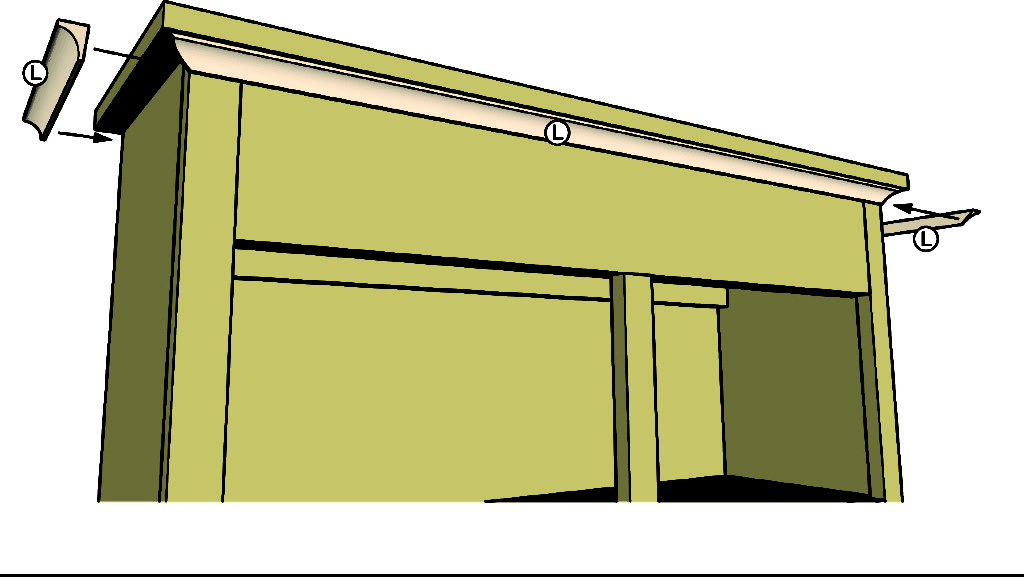
Apply glue to the top of the headboard. Line top trim piece up with outer leg piece and nail down, nailing every six to eight inches. Keep front and outside edges flush.
Apply glue to the top of the headboard. Overhang or elevate the headboard so that you can center the 2×4 top piece on the headboard with a 1/2-inch overhang on all sides. Nail every six to eight inches with 2-inch nails.
Tip: For a king-size headboard, scrap wood can be cut and nailed perpendicular to the planks to keep planks in place.
Fill nail holes with wood filler. Let filler dry then sand headboard with 80-grit sandpaper. Fill nail holes again — wood filler can shrink when dry. Sand again, this time with 120-grit sandpaper. Finally, sand with 150-grit sandpaper.
Vacuum headboard with a soft-bristled brush attachment to remove sanding residue then wipe the surface with a damp washcloth. In a well-ventilated area, lightly coat the headboard with spray-on primer, following instructions on spray can. Let dry completely.
Brush on paint, working in the direction of wood grain. Apply two coats, allowing ample time for each coat to fully dry. To distress, rough up edges with sandpaper. Chisel between the plank boards to expose the cracks between the panel boards. Apply glaze to distressed areas and wipe off until desired look is achieved. Spray with clear coat to seal your headboard.
Follow the directions on your bed frame to attach headboard to the bed frame.
The beauty of the solid wood used to build this headboard can be preserved by choosing a stained finish. This headboard was finished with two coats of a dark walnut oil-based stain, topped with satin oil-based polyurethane.
The original plan can be found at http://www.diynetwork.com/how-to/make-and-decorate/decorating/how-to-build-a-rustic-wood-headboard
![]() [email_link]
[email_link]


