Bathroom Shelf
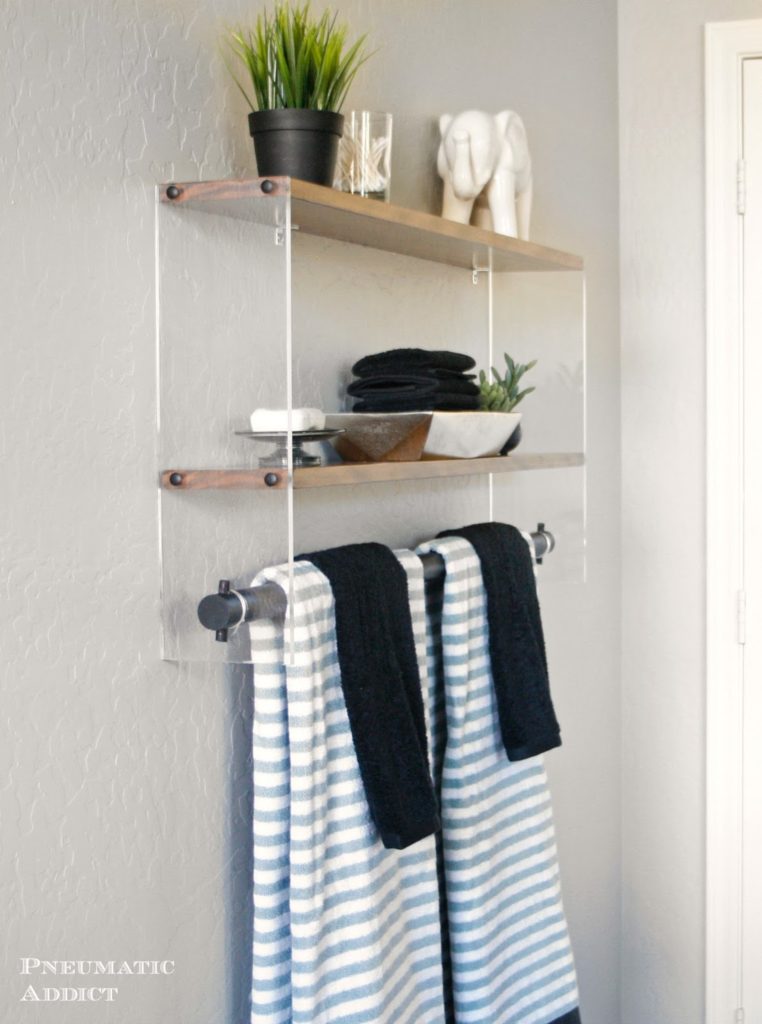
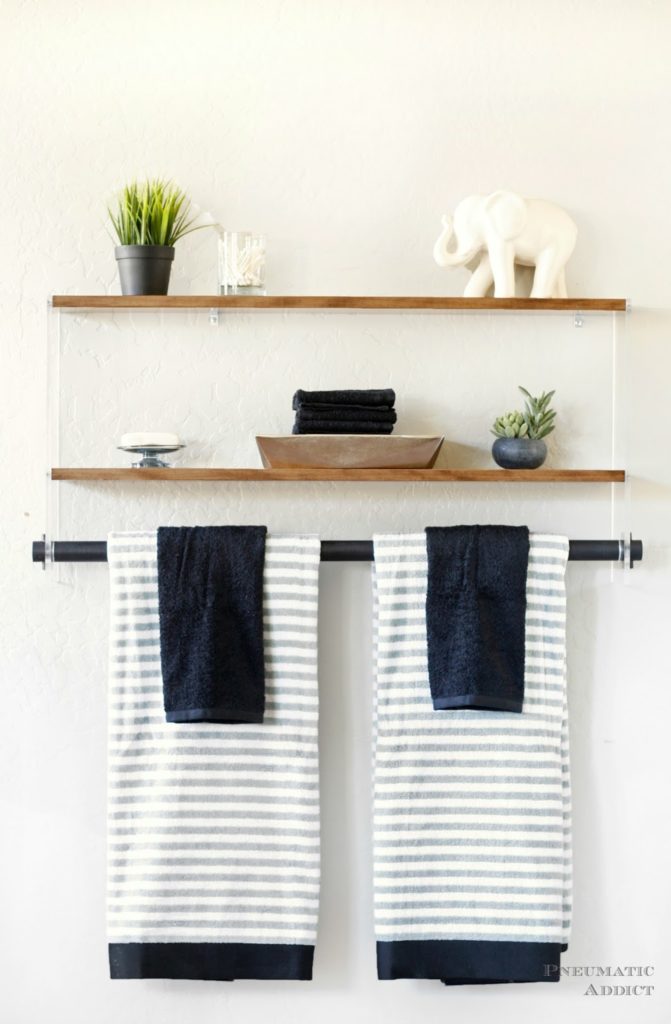
My boys’ bathroom is a disaster, so my #OrganizeBuildChallenge submission is a shelf/ towel bar hybrid, combining wood, paint, and clear acrylic sheets. Although the idea of a new material, like acrylic, may seem intimidating but I promise you, it went together so easily! The whole project took me a single afternoon.
- (2) 5-1/2″ x 18″ x 3/8″ acrylic sheet
- (1) 1 x 6 x 72″ – wood board
- (1) 1-3/8″ x 48″ – wood closet rod
- (1) 3/8″ x 12″ – wood dowel
- (8) *2″ wood screws
- (8) *screw head covers
- (4) *3/4″ L-brackets
- (2) 1 x 6 @ 36″
- (1) 1-3/8″ closet rod @ 38-3/4″
- (2) 3/8″ wood dowel @ 2-1/8″
Cut and finish your pieces and allow to fully dry. You can cut the acrylic sheets yourself, or request them to be cut from your supplier. I found a company on Ebay which was inexpensive and didn’t charge for cutting.
Start by drilling and prepping your acrylic side panels. Leave the protective film on the acrylic as long as you can. Measure 2″ from the bottom edge, and center between the sides and make a mark. Using a 1-3/8″ forstner drill bit, make a hole.
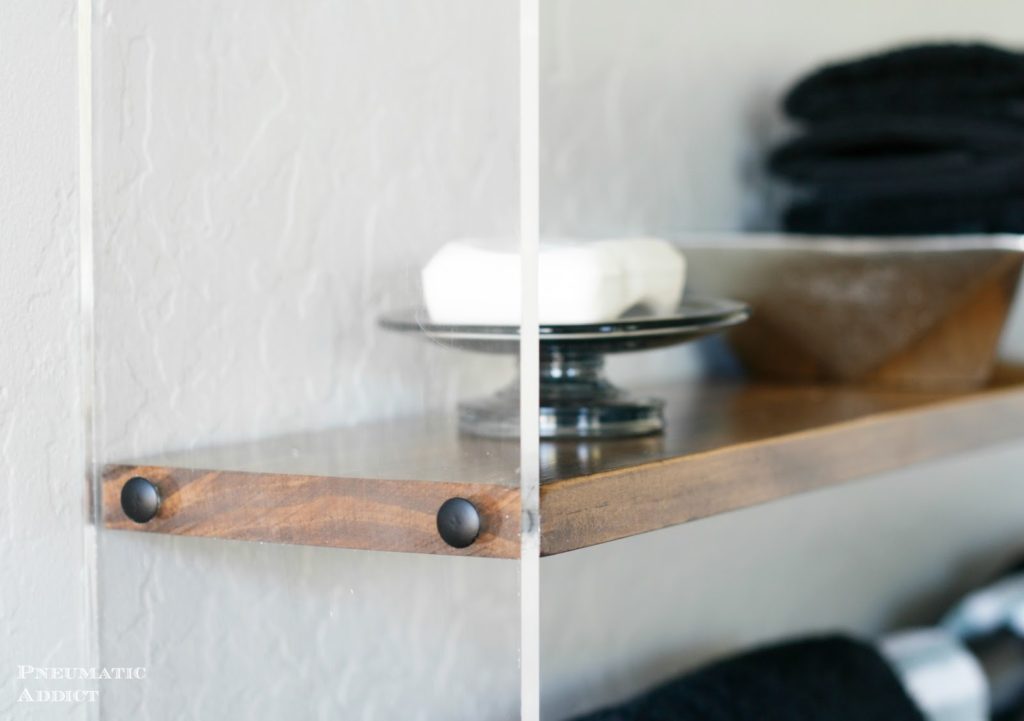
3/8″ from the top edge, pre-drill two holes though the acrylic and into the ends of the first wood board. Counter-bore the holes and attach the pieces with 2″ wood screws. Measure 10″ down from the bottom side of the first shelf and align your second board. Pre-drill, counter-bore and attach with screws.
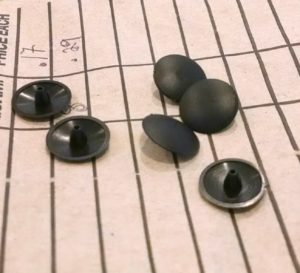
A cool and simple way to address the exposed screw heads is to cover them with screw head caps. I found a set of matte black covers for $0.29 at local True Value.
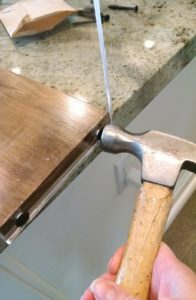
You just simply tap them into place and the screws instantly look much better.
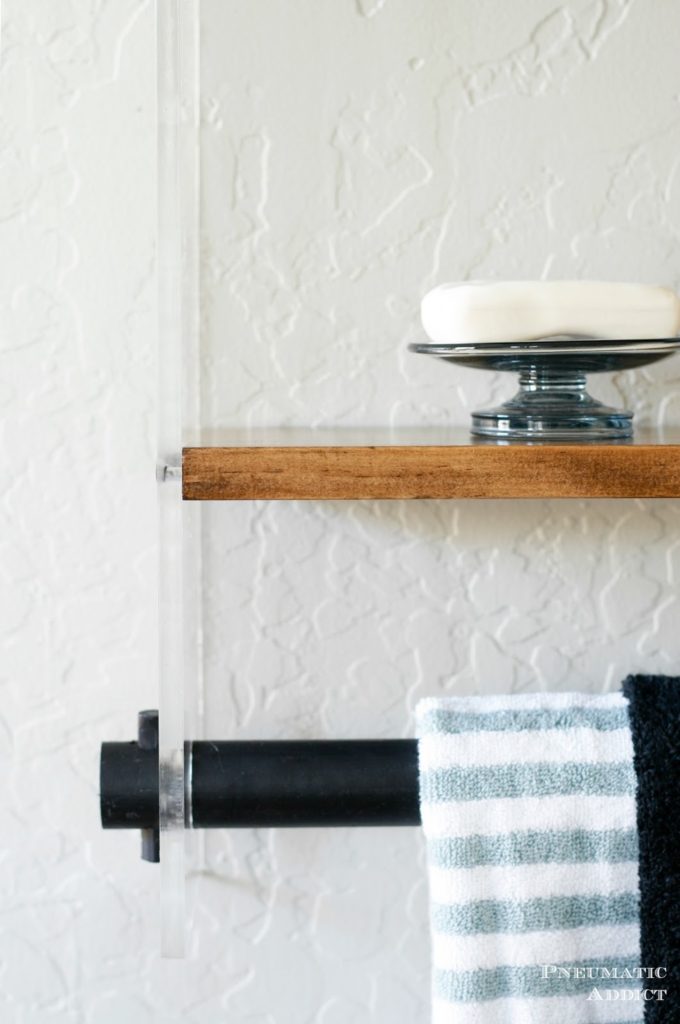
Insert the finished closet rod through the holes, leaving 1″ overhang on each end. Drill a 3/8″ hole, vertically through the rod, just outside the acrylic.
Use a mallet to tap wood dowel pins till centered through holes.
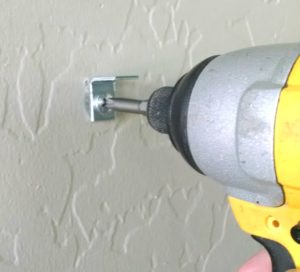
The shelf is built and ready to hang on the wall. To mount my shelf, I attached four, 3/4″ L-brackets to the wall, then placed and attached the shelf.
And here’s the final look!
The original plan can be found at http://www.pneumaticaddict.com/2016/01/wood-and-acrylic-bathroom-shelf.html
