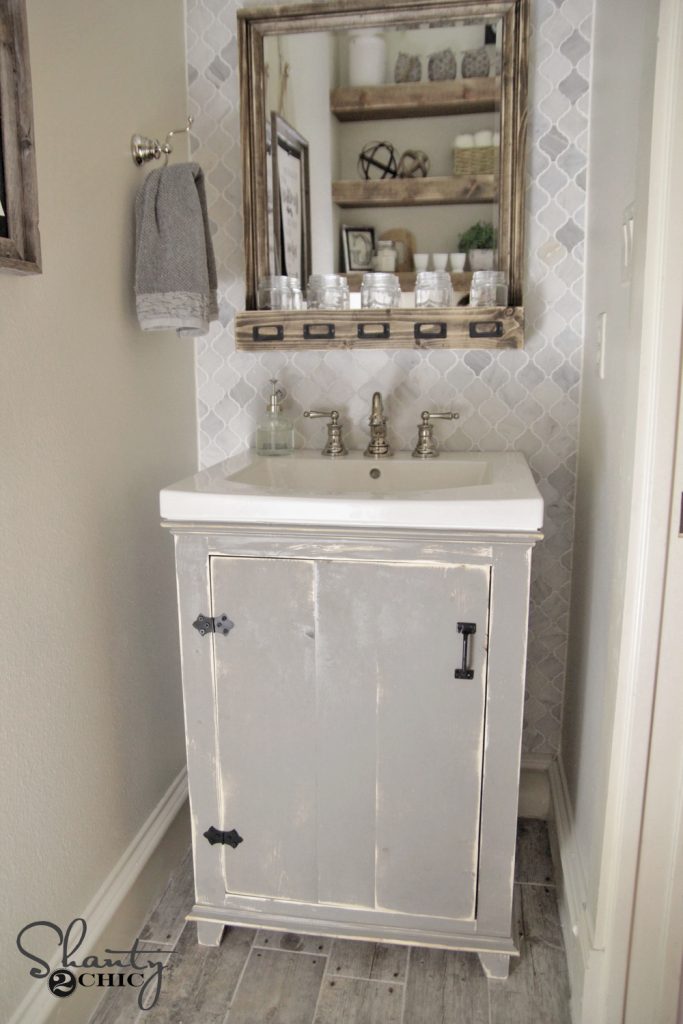
Bathroom Vanity


Begin by cutting the angle decoration to the bottom of all eight legs pieces, see detail illustration. Next assemble the four legs by drilling for 1-1/4” pockets screws and attaching the leg pieces with pocket screws and wood glue as shown. Make sure the outside-edges, top and bottom are all flush. Pay special attention to the orientation of the angled bottoms and the seam of the corner joint, you will construct 2 pairs of each orientation.

Drill for 1-1/4” pocket screws in the side rails and attach to a pair of legs as shown with pocket screws and wood glue. Again, notice the orientation of the corners. This vanity is constructed so that the seam will not be visible from the front. Repeat for the other pair of legs.

Now you will bring the sides together with the front and back rails. Drill for 1-1/4” pocket screws and attach as shown.

The strength of this modest vanity will be completed by attaching the side plywood panels. Make sure the panels are flush with the top rails and attach with 3/4” brad nails and wood glue.

Flip the assembly upside down to attach the bottom. The side panels were cut to length so that the bottom rests directly on their bottom edge and, after it is attached, the bottom will sit 1/4” below the edge of the front and back bottom rails. Make sure to set your Kreg jig and drill bit collar for 1/2” thick material. Drill holes and attach with 1” pocket screws and wood glue; making sure the bottom rests snug with the bottom of the side panels.

Next you will attach the upper and lower trim. It is always best to cut the trim material to length as you go. Simply hold up a piece, mark for length and cut. The trim will only wrap around the sides and front and front of the vanity. It will be flush with the back and flush with the top and bottom rails. Attach with 3/4” brad nails and wood glue.

The door assembly is anothe piece that should be cut to fi t. We constructed ours out of 1×8 material. You will want the door to have about a 1/16” all the way around it. The outer two pieces are made at full width. The middle piece will have to ripped down on your table saw, for ours it came out to be 3-1/8” wide. After you have the middle piece ripped down then drill for 1-14” pocket screws and attach with pocket screws and wood glue.

To attach the door we set the hinges 5” from the top and bottom as shown. Attach the hinges to the door first. Then set the door in place with shims to hold it 1/16” off the bottom edge of the door opening and 1/16” in from either side. Mark for the hinge holes and drill pilot holes. Take your time and make sure your hinges are attached as vertically plum as possible.

Finally you are ready to attach the sink basin. Make sure you carefully read installation material that came with your sink first. When you are ready place a bead of silicone adhesive around the top of your vanity base and carefully the sink in place. You may want to have someone help you with this step. The vanity should sit flush on back and about 1/2” all around.

The original plan can be found at https://www.shanty-2-chic.com
![]() [email_link]
[email_link]