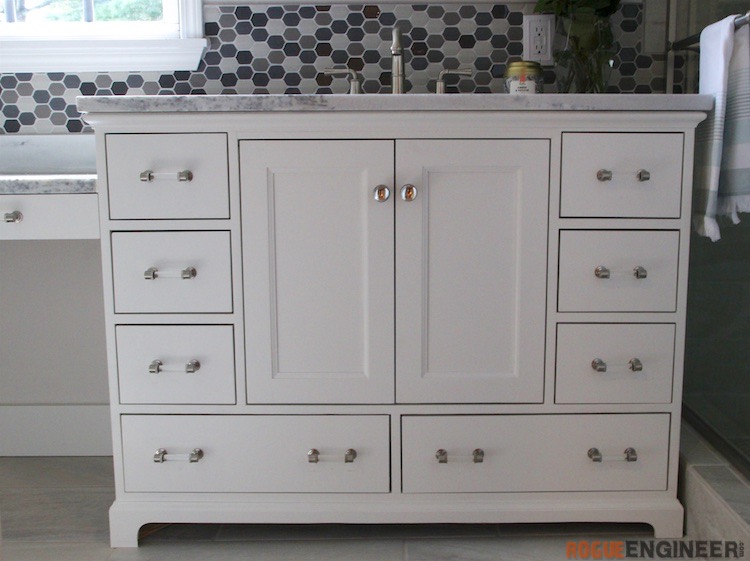
Bathroom Vanity
- Pre-Primed PureBond Plywood
- Qty 2 – 3/4” x 2’ x 8’
- Qty 1 – 3/4” x 2’ x 4’
- Qty 1 – 1/4” x 2’ x 2’
- Pre-Finished PureBond Plywood
- Qty 1 – 1/2” x 2’ x 8’
- Qty 1 – 3/4” x 2’ x 8’
- Qty 1 – 3/4” x 2’ x 4’
- Qty 2 – 2 x 2 x 8’ Poplar
- Qty 1 – 1 x 2 x 8’ Poplar
- Qty 2 – 1 x 3 x 6’ Poplar
- Qty 2 – 1 x 8 x 6’ Poplar
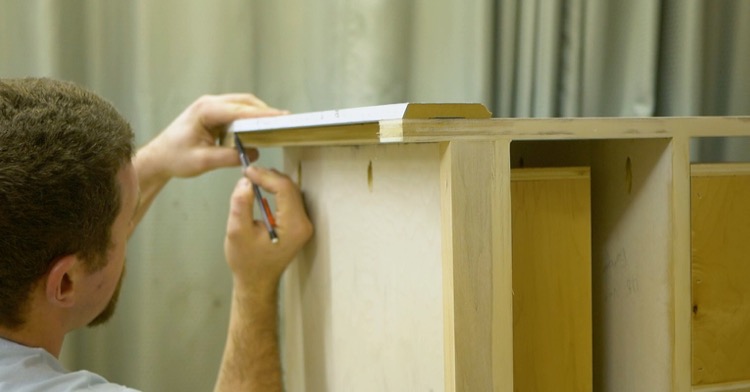
- 8’ – 3-1/4” Baseboard Trim
- 8’ – 1” Base Cap Molding
- Qty 8 – Liberty 20 in. Soft Close Full Extension Drawer Slide (1-Pair)
- Qty 2 – Liberty 90-Degree Surface Mount Hidden Spring Hinge (1-Pair)
- Qty 10 – Liberty 3” Glass Pulls
- Qty 2 – Liberty Glass Knob
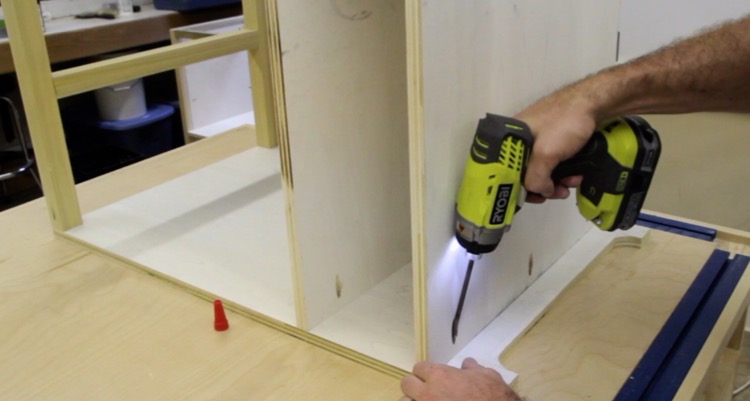
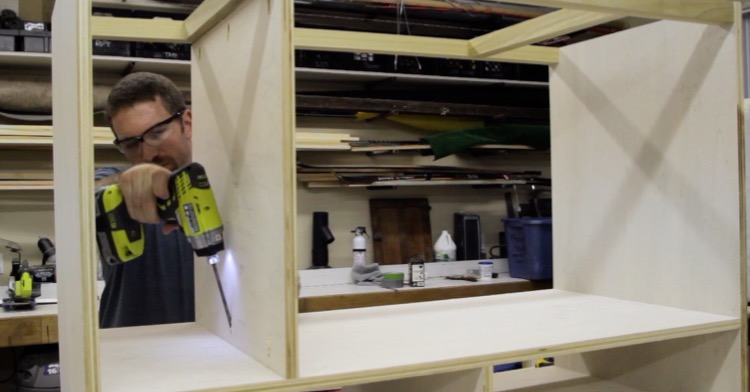
- 2-1/2″ Kreg Pocket Screws (Coarse)
- 1-1/4″ Kreg Pocket Screws (Coarse)
- 1-1/4″ Brad Nails
- 1-1/4″ Wood Screws
- Wood Glue


Make sure to note where your plumbing is located. If it comes out of the floor like mine did you will have to modify the depth of you bottom drawers so the plumbing can be run behind one or both.


When it comes to installing your vanity every situation will be different but the vanity should be leveled from front to back and side to side. Shim as required and then secure the back of the vanity into the wall studs with appropriately sized screws. Once that is done the top and sink can be installed. Then the plumbing and faucet can be finished.
The original plan can be found at https://rogueengineer.com
![]() [email_link]
[email_link]