Medicine Cabinet
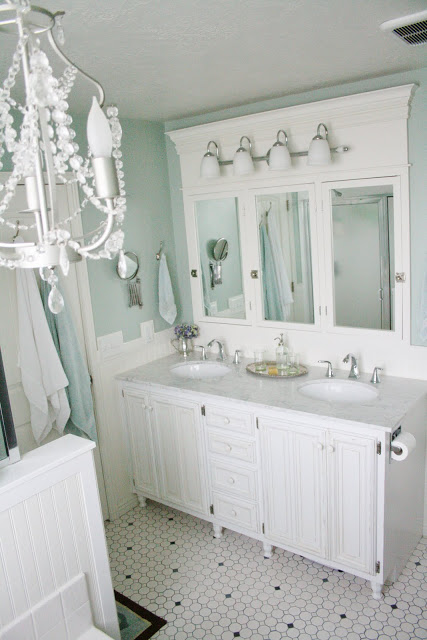

To install a recessed medicine cabinet you need to cut a hole in the wall, remove the drywall and some studs and prepare the studs with additional 2×4’s to make a secure space to mount the cabinet. This Old House has a good article to help you prepare your wall for the medicine cabinet. One important note, you shouldn’t install a recessed medicine cabinet (of this size) in a load bearing wall.
The hole in the wall for this medicine cabinet should be 47 1/4″ wide x 31 1/2″ tall. An easy tool to use to cut the drywall nicely is an oscillating or job plus tool with the semi-circle blade.

- 6 – Inset Cabinet Door Hinges
- 3 Latches
- 1 sheet Beadboard or 1/4″ plywood
- Mirror – 3 cut to 11 1/2″ x 27 1/2″
- 7 – 1″ x 4″ x 8′ boards (actual 3/4″ x 3 1/2″)
- wood glue
- 1 1/2″ screws
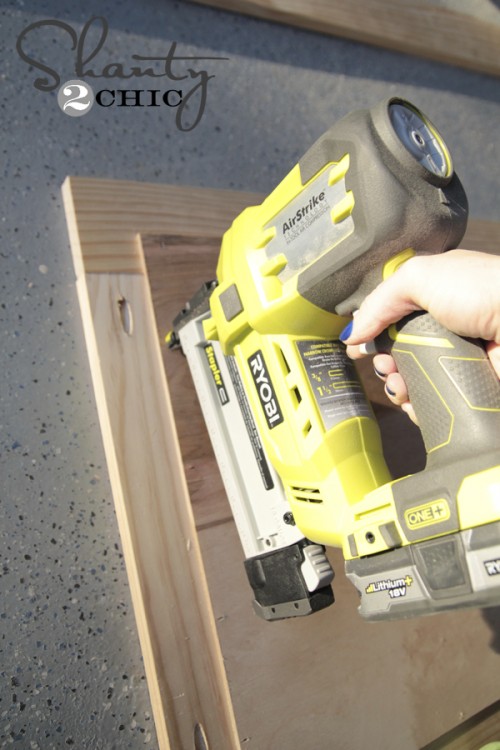
- 1 1/4″ pocket screws or brad nails
- sand paper
- wood filler
- primer/paint/stain
- 24 or more Shelf Support Pegs
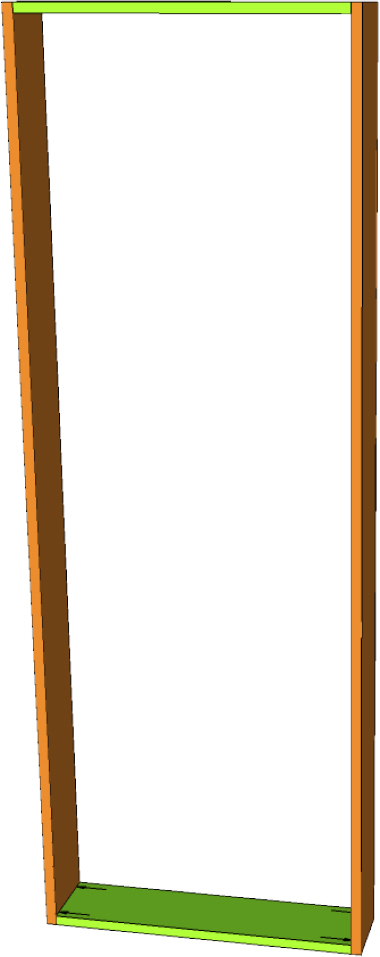
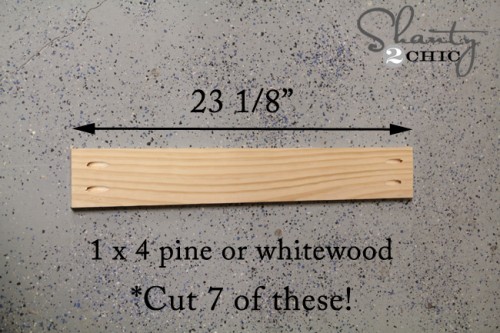
- (4) 3/4″ x 3 1/2″ x 30″ – 1×4 Lumber – Cabinet Dividers
- (2) 3/4″ x 3 1/2″ x 47 1/4″ – 1×4 Lumber – Cabinet Base/top
- (1) 1/4″ x 47 1/4″ x 31 1/2″ – plywood – Back
- (4) 3/4″ x 1 1/2″ x 30″ – 1×4 Lumber – Face frame divider
- (2) 3/4″ x 1 1/2″ x 48″ – 1×4 Lumber – Face frame top/bottom
- (12) 3/4″ x 3 1/4″ x 14 1/2″ – 1×4 Lumber – Shelves
- (6) 3/4″ x 1 1/2″ x 39 7/8″ – 1×4 Lumber – Door Stiles
- (6) 3/4″ x 1 1/2″ x 11 9/16″ – 1×4 Lumber – Door Rails
Cut 4 pieces of 1×4 that are 30″ long and 2 pieces that are 47 1/4″. Drill holes for the shelf pegs in the boards. The holes need to be 1/4″ diameter and 3/8″ deep or more. Drill as many holes as you’d like depending on how you want your shelves spaced and if you want to move them around.
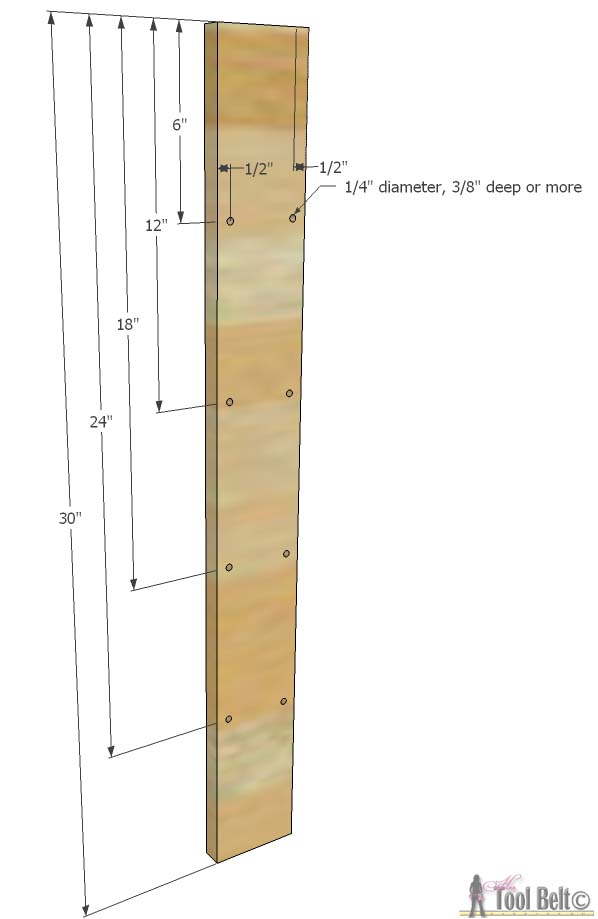
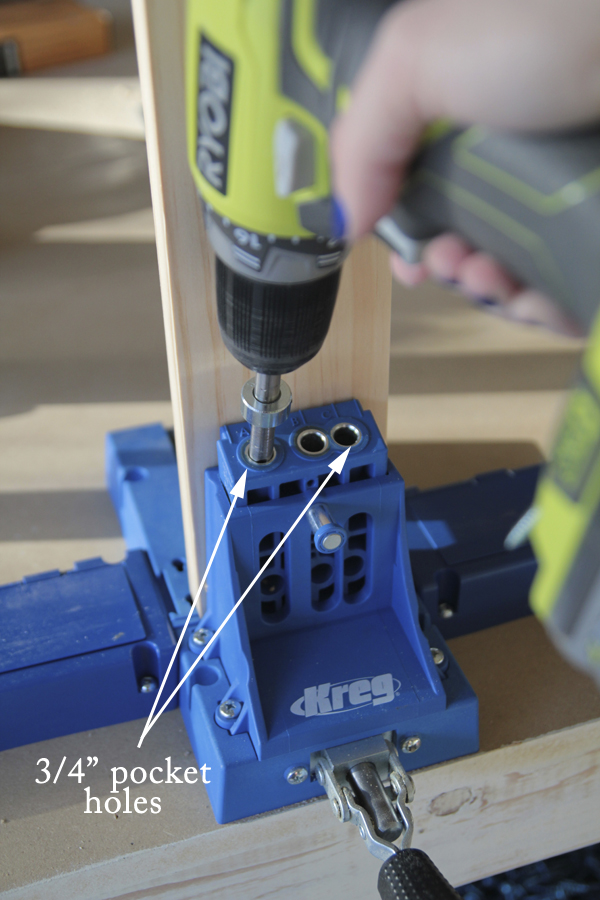
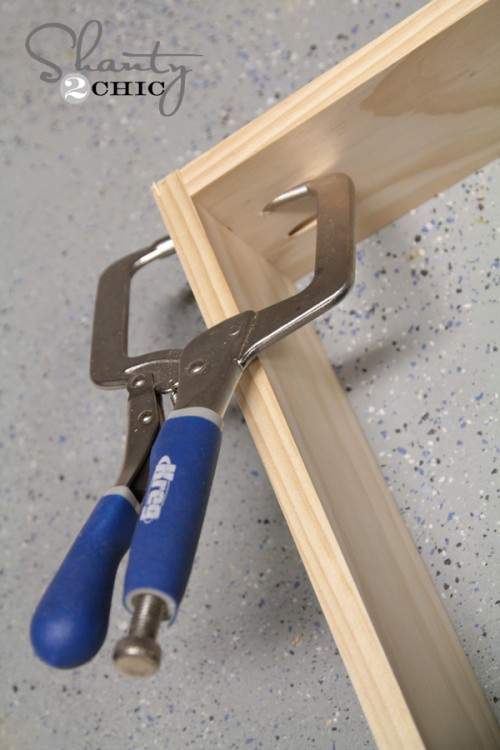
If you have a Kreg Jig, you may want to drill pocket holes to attach the cabinet to the face frame now (see step 2). Mark the spacing of the center of the vertical dividers on the 47 1/4″ pieces. Drill pilot holes (2x at each joint) and secure together with wood glue and 1 1/2″ screws.

Cut the bead board or 1/4″ plywood to 47 1/4″ x 31 1/2″, cut 1/2″ or longer brad nails to attach it to the back of the cabinet.

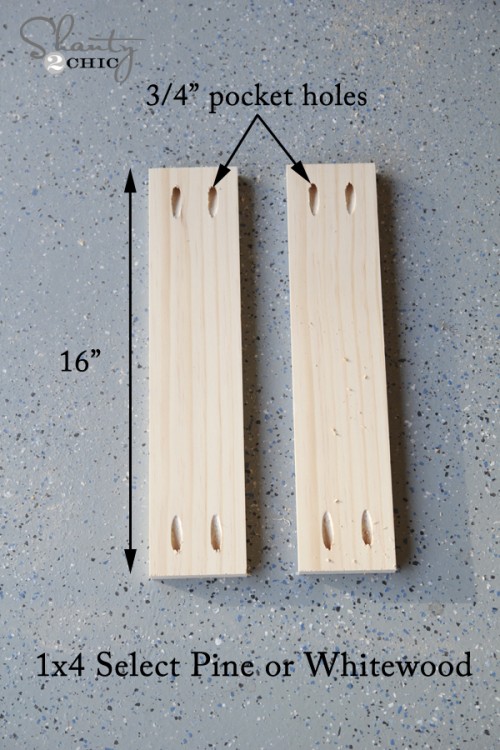
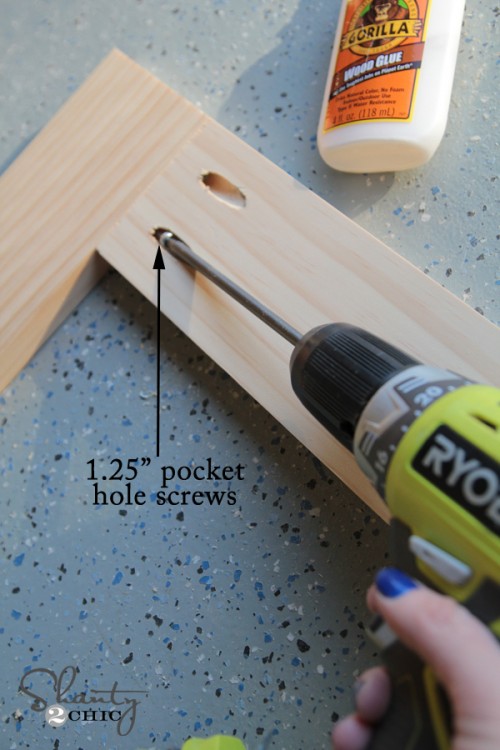
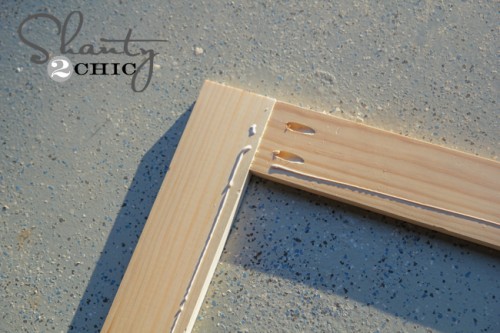
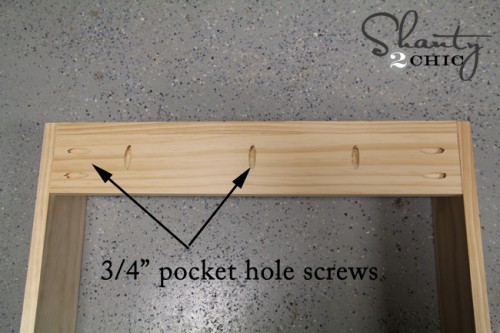
Cut 4 pieces of wood that are 1 1/2″ x 30″ and 2 that are 1 1/2″ x 48″. Drill pocket holes (affiliate link) on the back side of the 30″ pieces. Mark the attachment spacing on the 48″ pieces according to the sketch below. Use wood glue and 1 1/4″ pocket screws to secure the face frame together. (If you don’t use a pocket hole jig, you can assemble the face frame with dowels, biscuits or tenons. Or even use glue and brad nails to attach each piece to the cabinet.)

Line up the face frame to the cabinet. The inside top and bottom should be flush with the cabinet and the dividers should have a 3/8″ offset on each side.

Drill pocket holes in the cabinet outer sides to attach the face frame. Use wood glue and 1 1/4″ pocket screws to attach the face frame to the cabinet. (If you don’t have a pocket hole jig, you can use brad nails to attach the face frame to the cabinet).

Cut shelves for the cabinet. Make as many as you want, I estimated about 12 that are 3/4″ x 3 1/4″ x 14 1/2″. Use shelf support pegs and dry-fit the shelves in the cabinet, trim as needed.
It’s time for the doors! These doors are simple shaker style with a mirror as the panel, they are fairly easy to make as cabinet doors go, you just need a table saw. Cut 6 pieces of wood that are 1 1/2″ x 29 7/8″ and 6 that are 1 1/2″ x 11 9/16″. Starting with the 11 9/16″ pieces, we need to make a tongue on each end.

On each side cut a dado 1/4″ wide and 3/8″ deep, leaving a tongue 1/4″ x 3/8″. Repeat for each end. Then cut a groove down the center of one side that is 3/8″ deep and 1/4″ wide. You can do this by making multiple passes on the table saw with the blade set at 3/8″ high.

Cut the same 3/8″ deep x 1/4″ wide groove on one side of each 29 7/8″ board. Make sure the tongue will fit snug (but not too tight) in the groove of the 29 7/8″ pieces.

Cut the mirror pieces to 27 1/2″ x 11 1/2″, dry fit the mirror into the groove. Depending on the thickness of your mirror, you may need to add thin hardboard to the back for support.
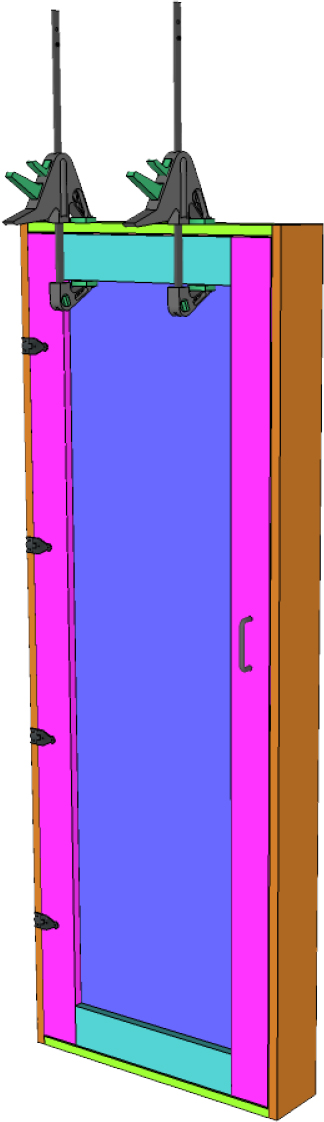
Assemble a door rail and 2 stiles, slide the mirror in place and put the top stile on. When making cabinet doors, you only glue the rail and stile joint (tongue and groove), not the panel. Once assembled with wood glue, clamp (making sure the door is flat and square) until the glue is dry.
Inset cabinet doors need a little gap around the door to open and close, this door should have a 1/16″ gap around the door. There are quite a few inset cabinet hinges that you can choose from, some show, some don’t, depends on your style. Install the hinges, 2 per door about 2 – 3 inches from the top and bottom (account for the 1/16″ gap). Make sure they fit well into the face frame opening, you may have to trim the door edges and that’s fine.
Next fill any holes or gaps with filler. Let the filler dry then sand the cabinet and doors, make sure to get any excess glue and filler smooth. End sanding your project with 120 -150 grit sand paper. Remove excess dust. If painting, prime the doors and allow to dry. If staining, use wood pre-conditioner and stain as you like.
Once the primer is dry, apply the paint and let dry. If you’d like, apply a top coat. If you used light colored paint use polycrylic. Allow to dry sufficiently.
Install the cabinet in the wall, securing it in place with 1 1/2″ or longer screws into the studs. Attach door latches if desired.
Enjoy your medicine cabinet!
The original plan can be found at https://www.hertoolbelt.com
 [email_link]