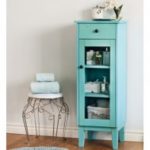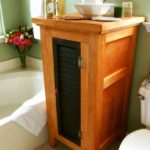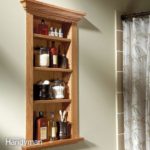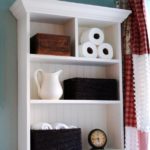
Bathroom Shelf

Supply List:

  • 1 x 10 x 4′ board
  • 1 x 6 x 4′ board
  • 1 x 2 x 4′ board
  • Stain
  • Metal Hooks

Step 1:

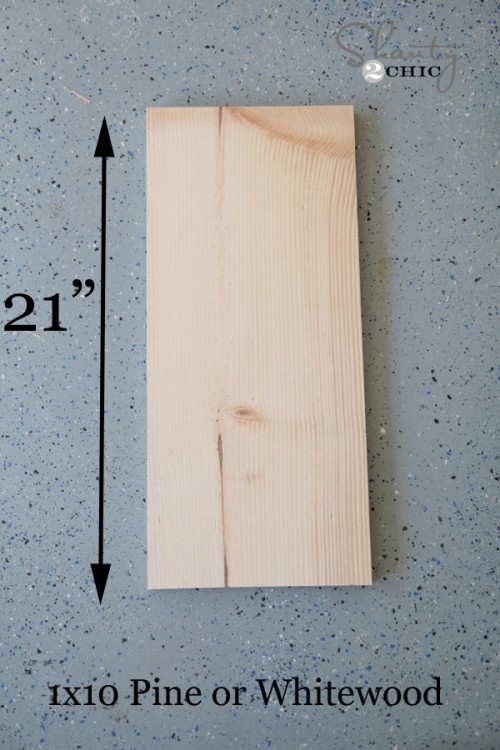
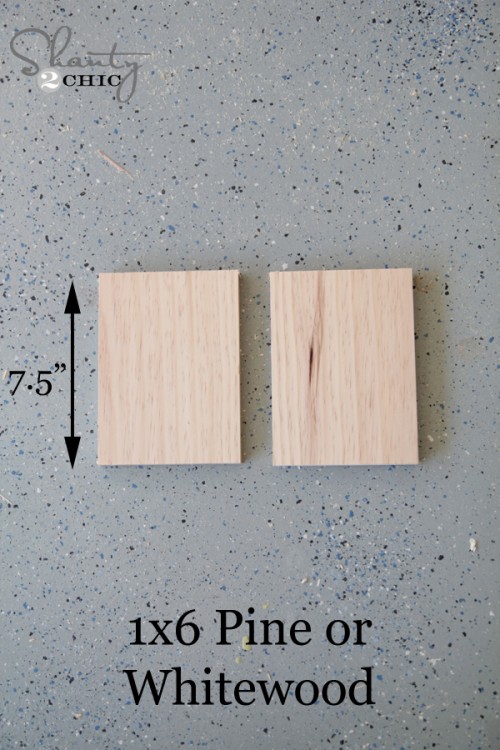
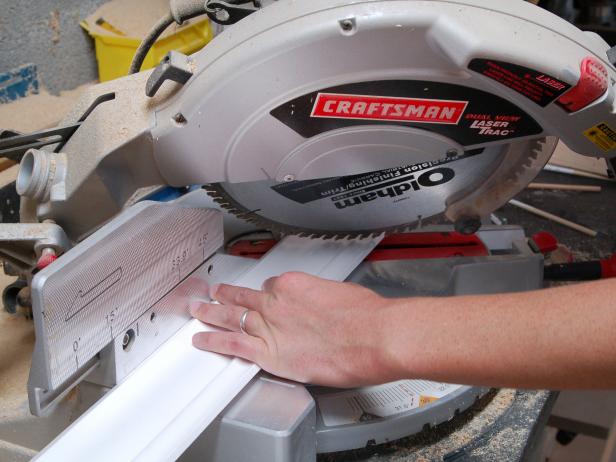
My first step was making my cuts.  I used my Ridgid miter saw to make all my cuts.  You can also use a cheap hand saw.  It requires a bit more elbow grease, but totally gets the job done.

Step 2:

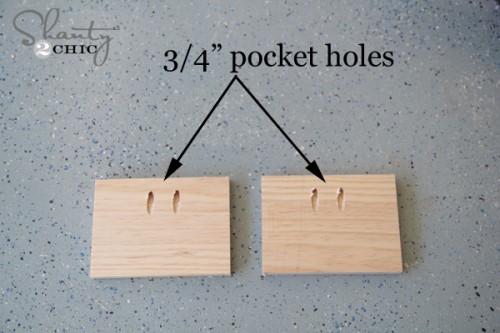
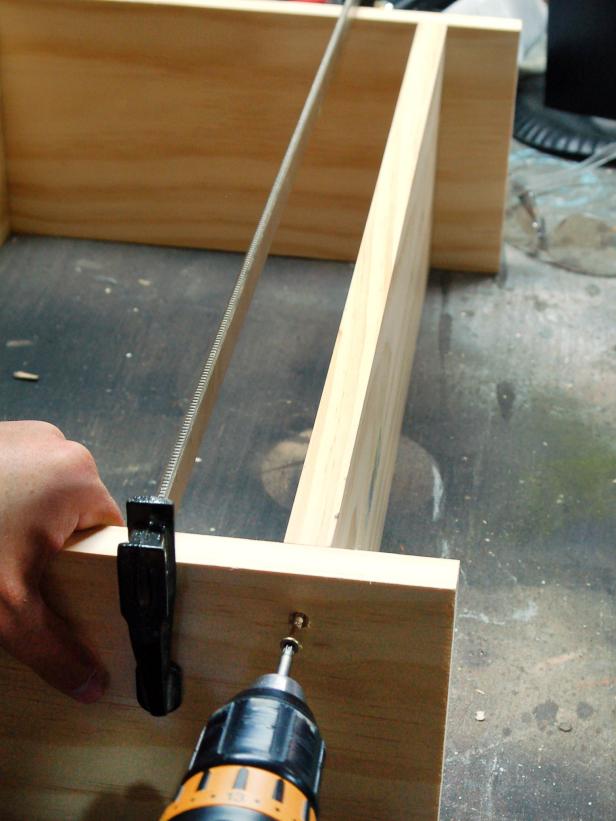
After making all my cuts, I used my Kreg Jig to put two 3/4″ pocket holes in each of my 1×6 pieces.  I put one at each of the arrows.

Step 3:

Attach both shelves with pocket screws

Step 4:

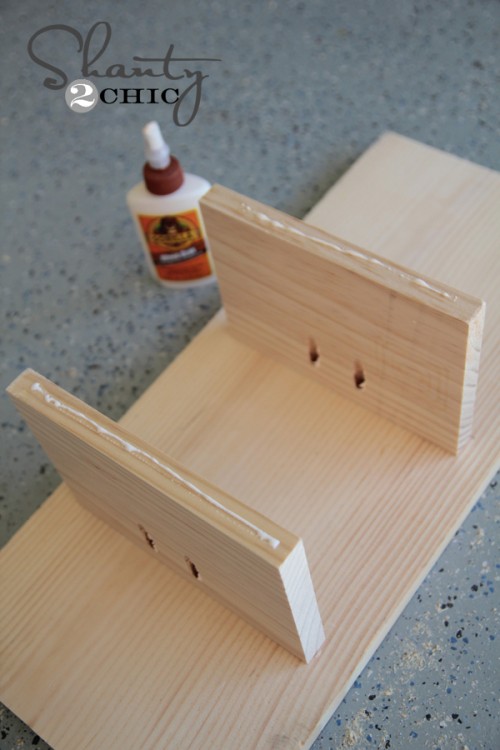
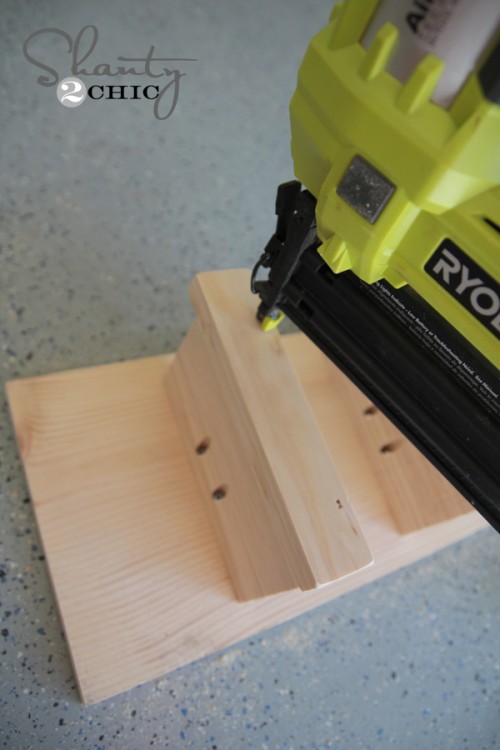
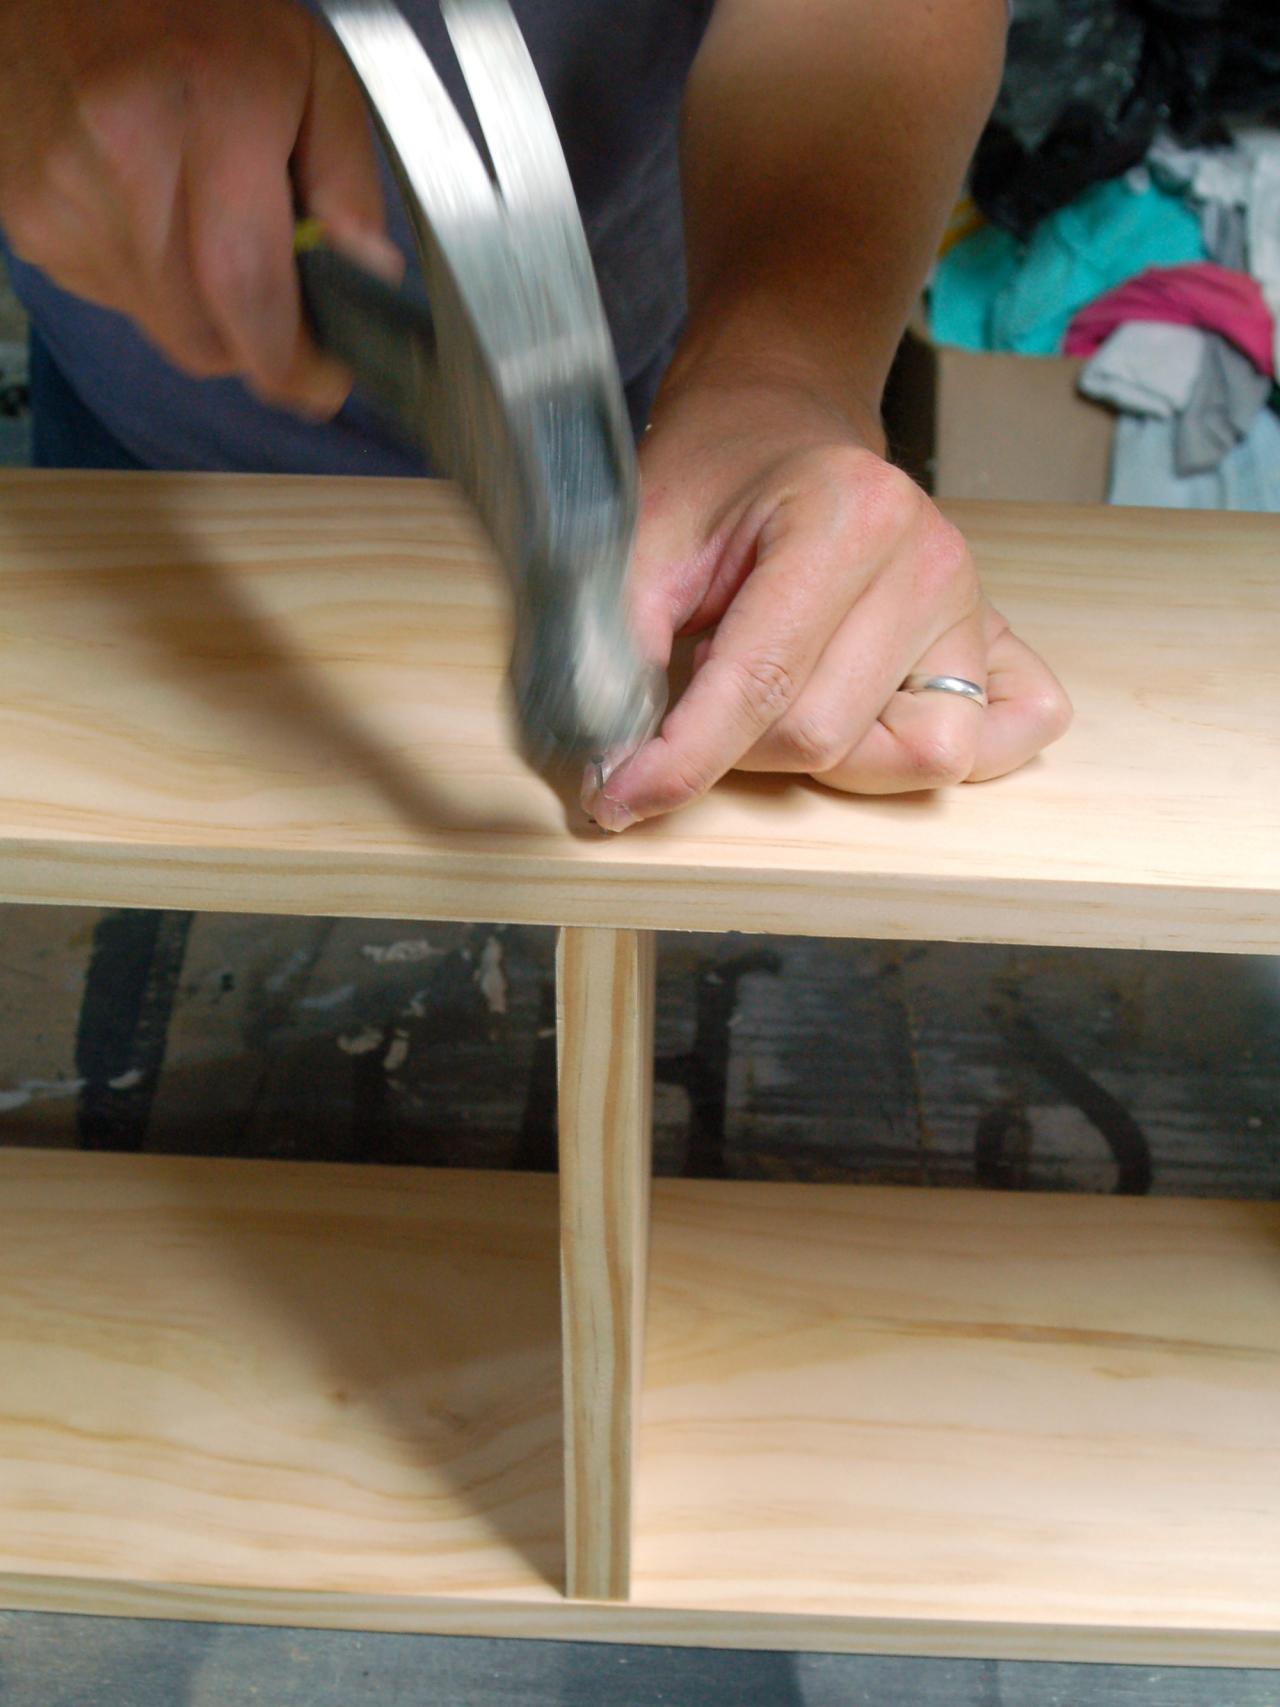
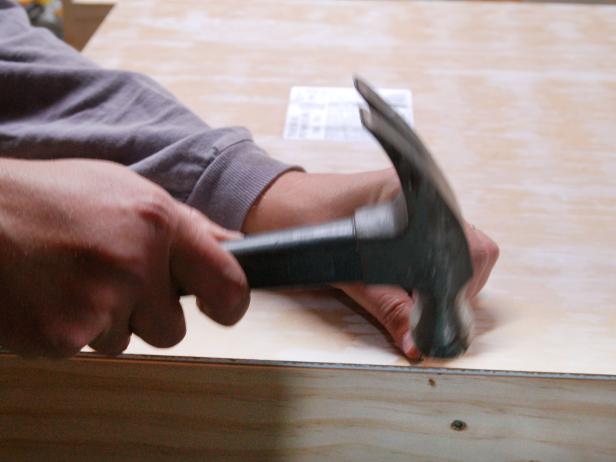
Add the front 1×2″ trim piece, glue and nail it on.

Step 5:

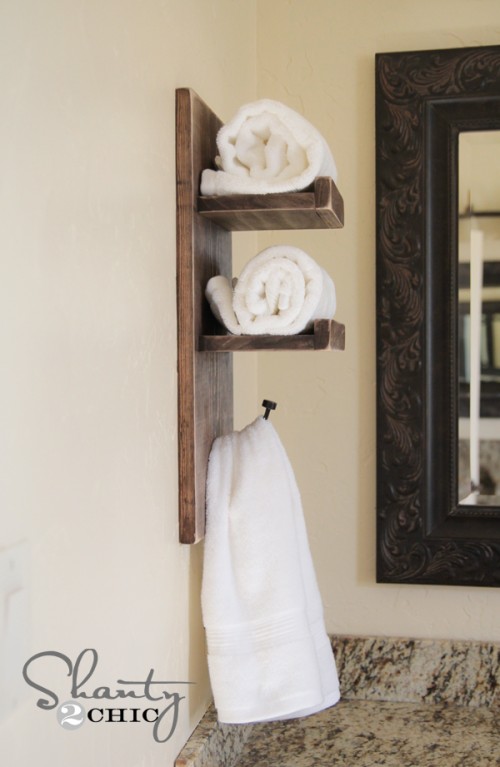
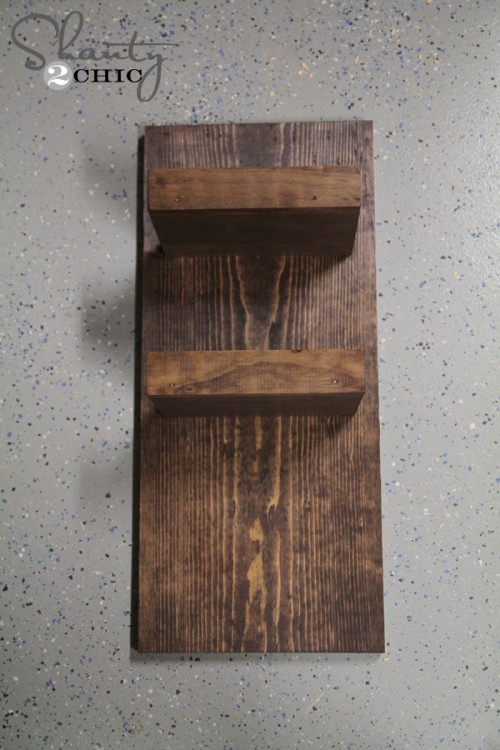
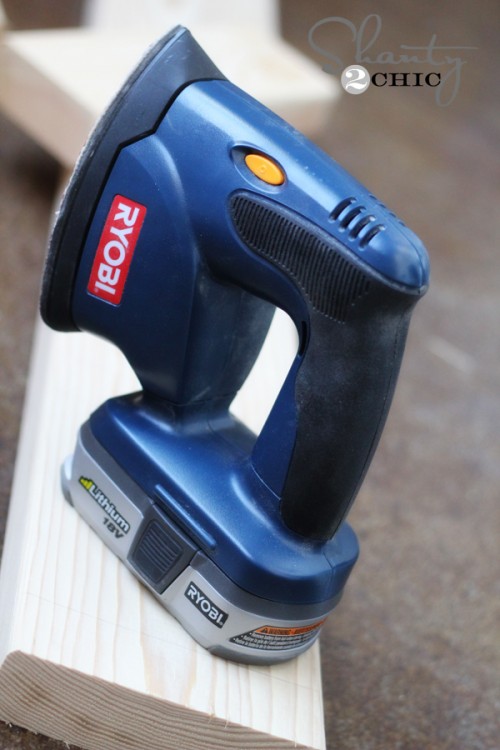
Now its time for stain. I applied a dark walnut stain, when dry I roughed it up with a sander on the edges to create a distressed look.


The original plan can be found at https://www.shanty-2-chic.com

 
[email_link]
 

Recessed Bathroom Shelf

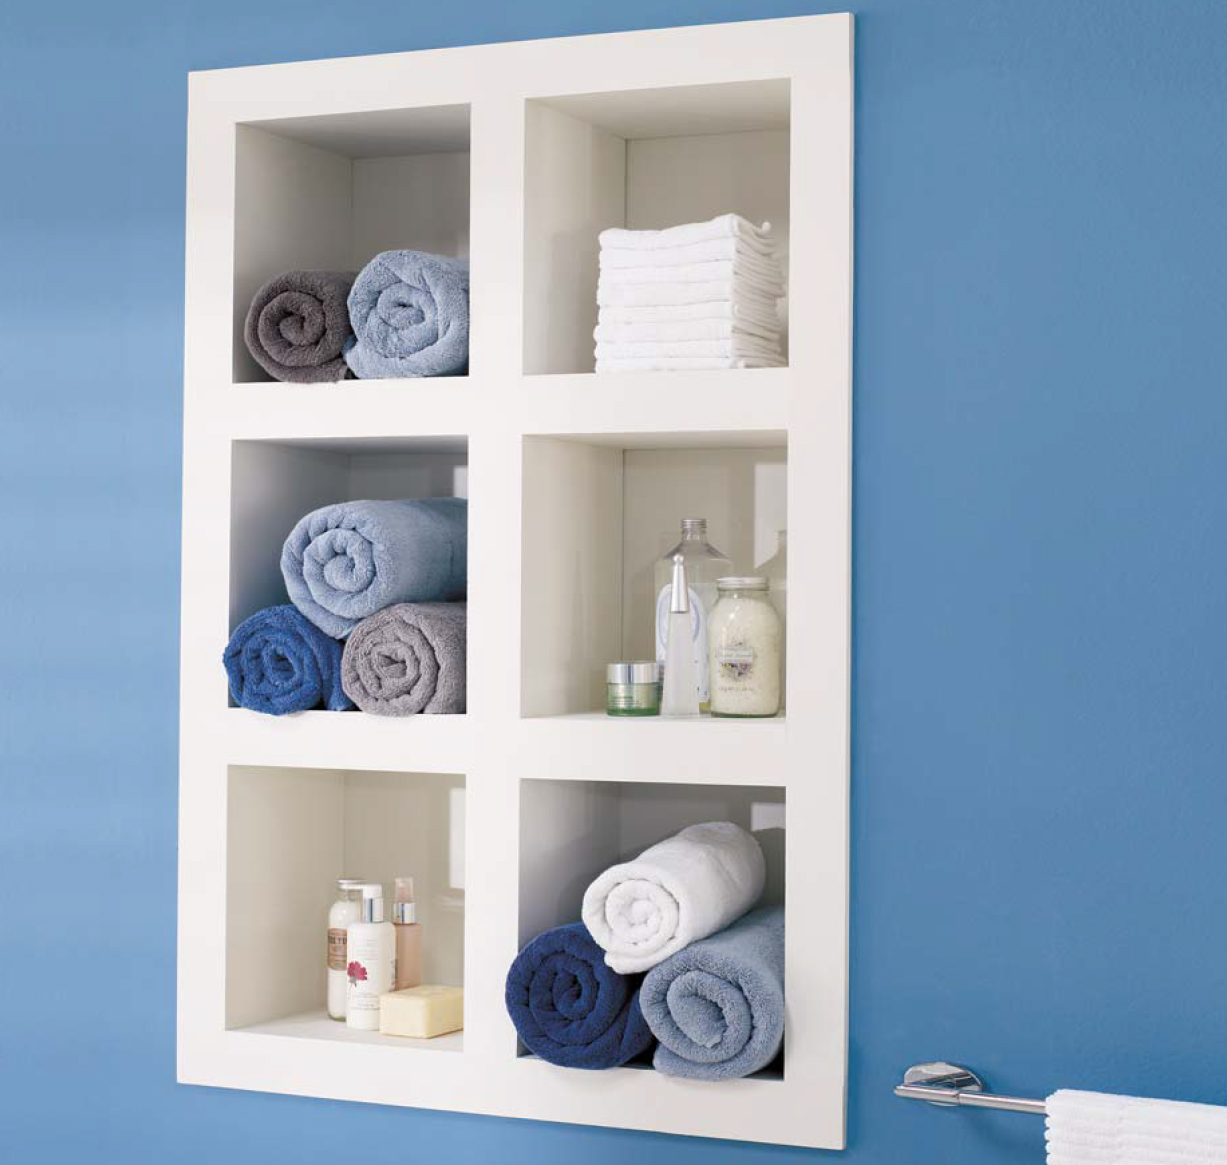
Built into the wall just like a window, this shelf unit offers additional storage without taking up any extra space, helping to keep the bathroom looking spacious and clutter free. Made of MDF, the unit measures 26 1/2″ wide by 42″ high (30 1/2″ by 46″ with its frame). It is assembled in part using wood biscuits.

The shelves shown in the photo have been built into a wall that opens into a closet on the other side, which means that they are actually deeper than the wall is thick. The measurements given in this guide are for shelves 4″ deep, which can thus be fitted into a regular interior wall. The back of the shelf unit is closed off with a sheet of Masonite.

Cut List:

Click to Enlargen

ASSEMBLING FURNITURE WITH WOOD BISCUITS

This sturdy method of assembly involves inserting thin slices of compressed wood (“biscuits”) into slots made with a plate (or biscuit) joiner. When the biscuits come into contact with glue applied in the slots, they swell and stay wedged in place, holding the construction together. Once you have taken the time to learn how to use a biscuit joiner, the specialized tool required for this type of assembly,
you will find it a quick and easy technique.

Preparation

Vertical sides (A): Make the slots for the biscuits 13 1/4″
from each end of A, on one side only.
Spacers (F): Make the slots for the biscuits
in the very centre of the parts, i.e. 3/4″ from the edge.
Top / Bottom (G): Make the slots for the biscuits
in the very centre, i.e. 13 1/4″ from one of the ends.

Assembly

The shelf cubbies are formed by building individual “boxes” which are assembled with nails
and then fastened to each other using wood biscuits. Always apply glue to the inside of the slots before inserting the biscuits. Glue must also be applied to all the surfaces to be joined.

Assemble a vertical module by gluing and nailing two spacers F between two vertical sides A, one spacer at each end. All surfaces with slots should be facing outwards.
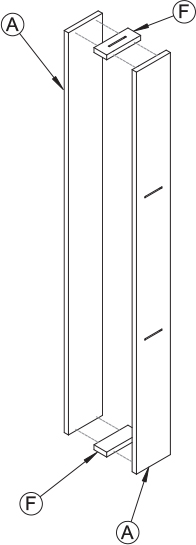
Assemble each of the four horizontal modules by gluing and nailing two spacers F between two horizontal sides C, one spacer at each end. All surfaces with slots should be facing outwards.

Fasten two horizontal modules between a side A and the vertical module, then do the same on the other side. Insert more spacers into the vertical module as needed, to prevent its sides from bending inwards. Hold in place with clamps and go straight on to the next step.
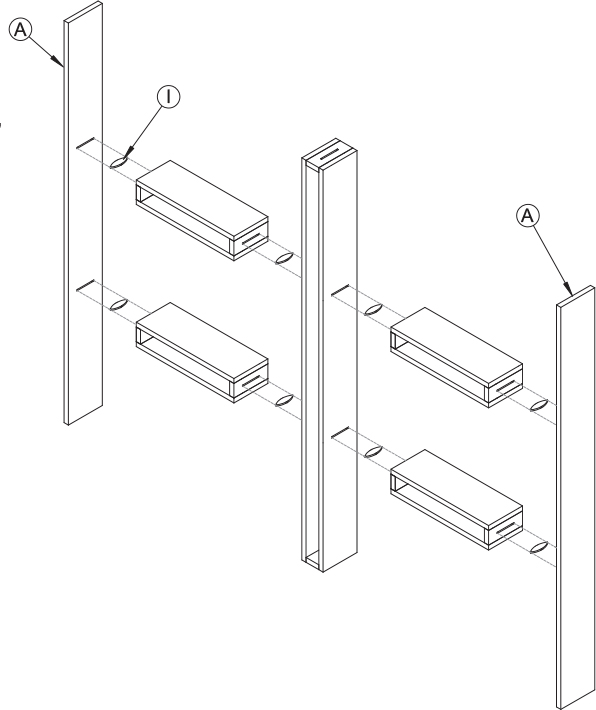
Apply glue to the slots in top / bottom G and to the ends of sides A. Insert the biscuits into the slots, then nail top / bottom G to sides A.

Glue and nail panel E to the back of the shelves.

Glue and nail one vertical facade B to the front of the vertical module and fasten short horizontal facades D to the horizontal modules in the same way.

Insert the shelf unit into the wall opening, resting it on the bottom girt. Check for level, then screw into the studs.
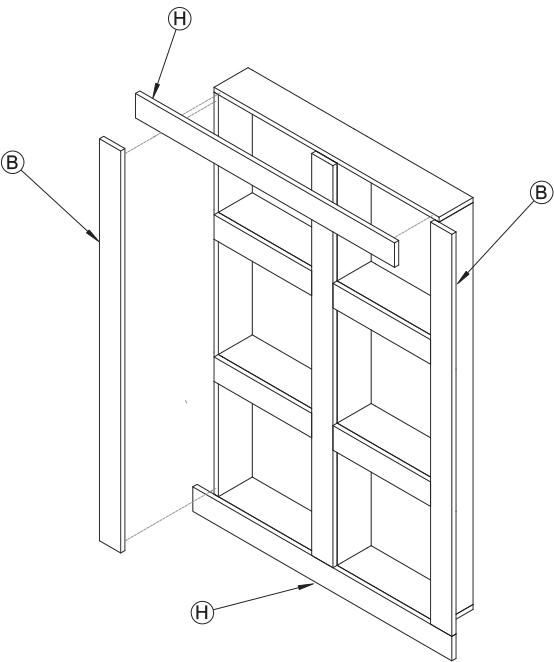
Glue and nail the two remaining vertical facades B and the two long horizontal facades H to the edges of the shelf unit in order to form a frame to conceal the cuts in the drywall. Fill the holes and apply a coat of primer. Paint.

The original plan can be found at https://www.rona.ca

 
[email_link]
 

Bathroom Shelf

Lumber:

  • 3 – 2×2 at 6’
  • Half sheet of ¾” plywood

Materials:

  • Edge banding for plywood, optional
  • 4 – 8” angle brackets
  • 8 – 4″ or 5″ angle brackets
  • Spray paint to match finish (for brackets, optional)
  • Wood filler
  • Sandpaper
  • Wood glue
  • Finishing Supplies

Cut List:

  • 3 – 2×2 at 47-1/2” – Legs
  • 4 – ¾” plywood at 12” x 16” – Shelves

Instructions:

Cut the pieces for the shelves. Cut the notches and the curve using a jig saw. Apply edge banding, if desired.

Cut the pieces for the legs. Attach the shelves at the spacing shown using corner brackets. Three brackets per shelf will be used.

Fill any Screw, Nail or Pocket Holes, Sand and Finish as Desired

The original plan can be found at http://www.thedesignconfidential.com

 
[email_link]
 

Bathroom Shelf

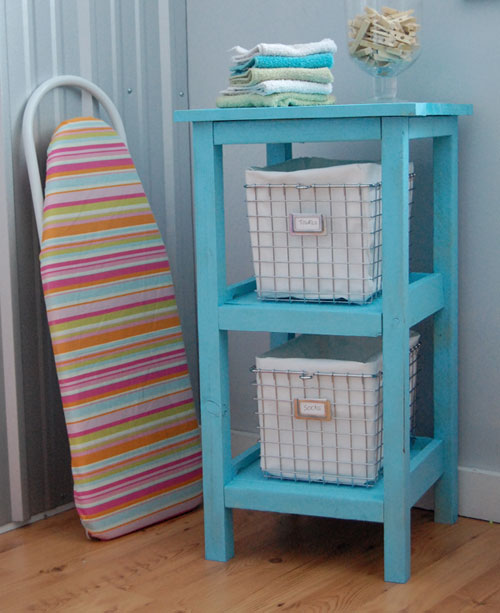
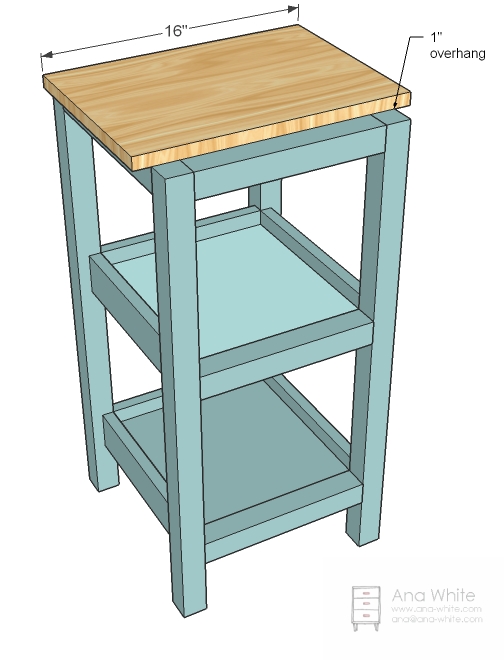
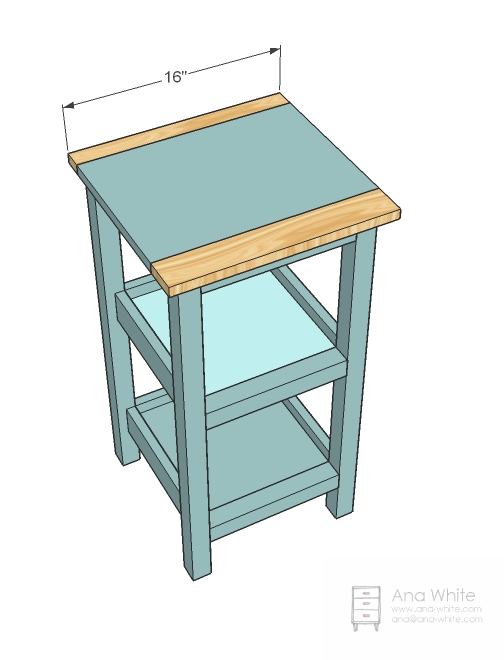
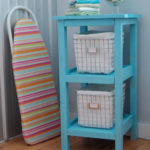
This simple storage tower can be used with or without wire baskets to add precious storage space and countertop space to even the tiniest of bathrooms. Use throughout the home for storage – think potatos and onions, socks and underwear, or even favorite books beside your bed.


Shown with a Spectrum small wire basket, available at most stores for about $10 and a homemade fabric liner. Also available is a medium sized basket that is slightly wider. Simply add a few inches to the width of you project to accommodate the larger baskets.

Shopping List: 

  • 2 – Wire Baskets, measuring 9″ wide x 8″ tall x 12″ deep (as shown)
  • 3 – 2×2 @ 8 feet long
  • 1 – 1×12 @ 4 feet long
  • 1 – 1×3 @ 8 feet long
  • 1 – 1×2 @ 2 feet long
  • 2 1/2″ Screws or finish nails
  • 2″ Screws or finish nails
  • 1 1/4″ Screws or finish nails
  • wood glue, wood filler and finishing supplies

Dimensions: 16″ wide x 30″ tall x 15 1/2″ deep

Cut List: 

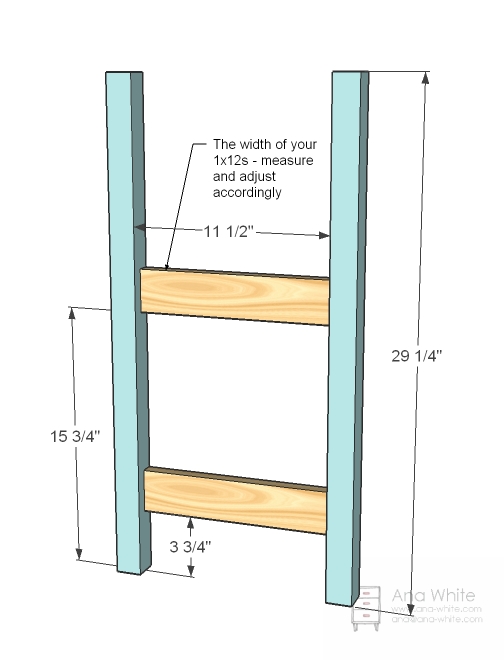
  • 4 – 2×2 @ 29 1/4″ (Legs)
  • 4 – 1×3 @ 11 1/2″ (Side Trim for shelves – Measure to fit the width of your 1x12s)
  • 2 – 1×12 @ 11″ (Shelves)
  • 2 – 1×3 @ 11″ (Back Trim for Shelves)
  • 4 – 2×2 @ 11″ (Width Trim)
  • 3 – 2×2 @ 11 1/2″ (Top Trim – Measure to fit the width of your 1x12s)
  • 1 – 1×12 @ 16″ (Top Shelf)
  • 1 – 1×2 @ 16″ (Back, Top)
  • 1 – 1×3 @ 16, (Front, Top)

Step 1: Attach Shelf Side Trim to Legs

Measure and mark the location of the shelf side trim on the insides of the legs. Predrill holes and attach with 2 1/2″ screws or finish nails and glue. Build two. Shelf side trim is flush to the inside.


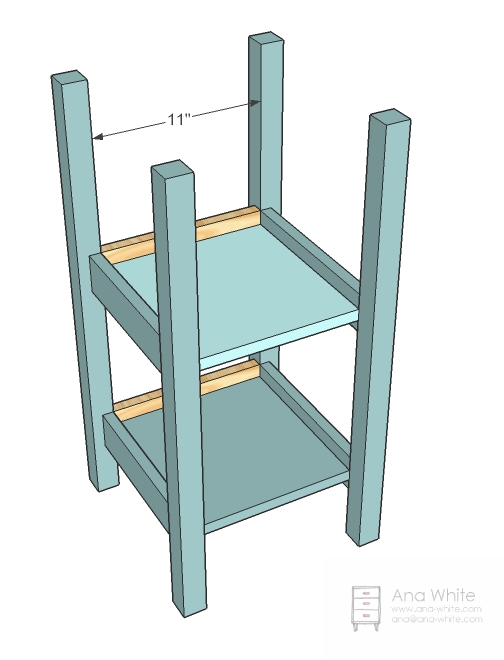
Step 2: Shelves

Measure and mark the shelf side trim 1″ from the top edge. This is the top edge of your shelves. Attach shelves with 2″ screws and glue or 1 1/4″ pocket hole screws and glue.

Step 3: Back Trim

Attach the back trim flush with the sides as you did the side trim.

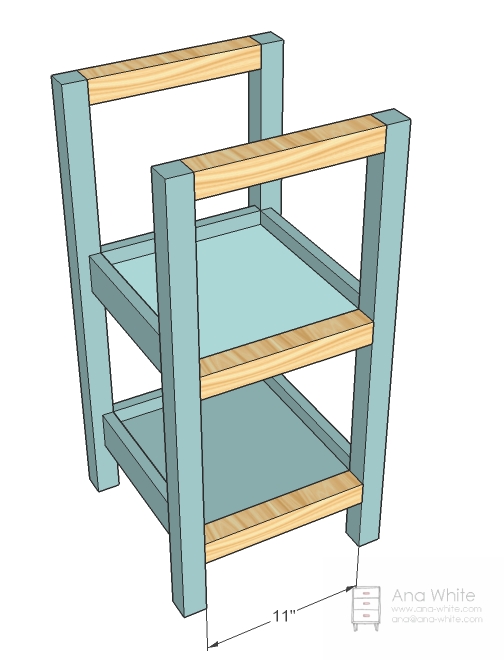
Step 4: Width Trim

The shelf trim is flush to the top, the top trim flush to the top. Attach with 2 1/2″ screws or finish nails and glue.

Step 5: Top Support/Trim

Attach the top support/trim as shown above. Center the support. You will use these boards to screw the tops in place.

Step 6: Top Shelf

Screw through the supports/top trim with 2″ screws and glue to attach top shelf.

Step 7: Front and Back of Top Shelf

Finish the top shelf with the 1×2 and 1×3, 1×2 to the back so your piece will sit flush to the wall. Use 2″ screws and glue.

Preparation Instructions: 

Fill all holes with wood filler and let dry. Apply a second coat if necessary. Sand with 120 grit sandpaper in the direction of the wood grain. Vacuum and wipe clean with a damp cloth. Prime and paint as desired.

The original plan can be found at http://www.ana-white.com/2011/02/wire-basket-bath-storage-tower.html

 
[email_link]
 

Bathroom Shelf


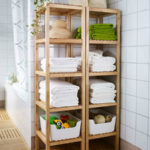
These wooden shelf units are ideal for a bathroom and you can make them using pine that you will find at your local Builders Warehouse. Leave them natural or stain in your choice of wood tint and finish off with varnish. If you have all the pieces cut to size all that you have to do is assemble.

The size of the bathroom storage unit is 464mm square (18 1/4″) and 1800mm high (70 13/16″), but you can easily modify the design if you want a lower shelf unit.

Materials:

  • (4) 32mm (1 1/4″) x 32mm (1 1/4″) x 1800mm (70 13/16″ pine – uprights
  • (20) 32mm  (1 1/4″) x 32mm (1 1/4″) x 400mm (15 3/4″) pine – cross pieces
  • (35) 10mm (3/8″) x 44mm (1 3/4″) x 464mm (18 1/4″) pine – slats
  • Pattex No More Nails adhesive
  • Plastic screw caps (to hide screws)
  • 5 x 50mm (2″) smooth shank cut screws
  • 180-grit sandpaper

Step 1: Assemble the side frames

Working on a flat, level surface, measure and mark for placing the shelves. The first shelf is 200mm from the floor. Mark as follows for the remaining shelves: 592mm (23 5/16″) – 984mm (38 3/4″) – 1376mm (54 3/16″) – 1768mm (69 9/16″).

Step 2:

To attach the cross pieces, use the mark for the shelves and add 16mm to drill and countersink a 4mm pilot hole. Place the individual cross pieces above the marked positions and drill through the pilot hole into the end of each cross piece.

GOOD TO KNOW
It’s important to drill a pilot hole in the uprights and cross pieces to prevent the wood from splitting when you join together.

Step 3:

Apply a bead of adhesive to the end of each cross piece before securing in place with 5 x 50mm (2″) smooth shank cut screws.

Step 4:

The cross pieces on the front and back are mounted 10mm (3/8″) lower than those on the front. This is the allow space for mounting the slats, which will then sit flush with the height of the side cross pieces. It also ensure that there is room for the screws.

Step 5:

There are 7 slats in total and these need to be spaced equally on top of the front and back cross pieces. Attach with adhesive and then hammer in a panel pin (or use a pneumatic nail gun) to secure in place. The slats also provide additional stability to the unit.

Step 6: Finishing
To cover up the countersunk holes you can use plastic screw caps. These are available in a selection of colours from white to dark brown, so choose a colour that will match the finish of your bathroom shelf unit.

The original plan can be found at http://www.home-dzine.co.za/diy/diy-bathroom-storage.htm

 
[email_link]

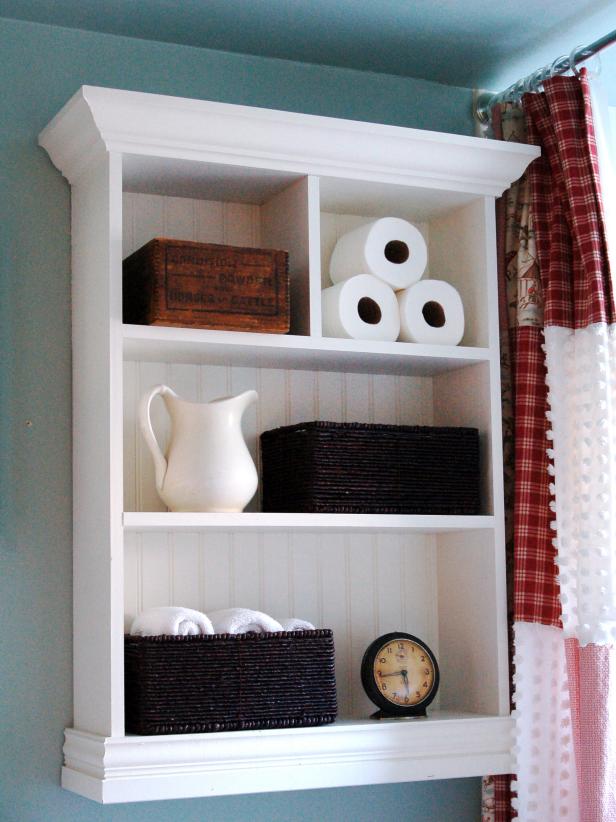
Bathroom Shelf

Materials Needed:

  • (2) – 1″ x 8″ board, 36″ long
  • (4) – 1″ x 8″ board, 24″ long
  • (1) – 1″ x 8″ board, 9-3/4″ long
  • (1) – crown molding, 25-1/2″ long
  • (2) – crown molding, 7-1/4″ long
  • (1) – base molding, 25-1/2″ long
  • (2) – base molding, 7-1/4″ long
  • (1) – sheet of beadboard, 25-1/2″ x 36″
  • (1) – 1″ x 2″ board, 23″ wide

Step 1: Mark Shelf Layout

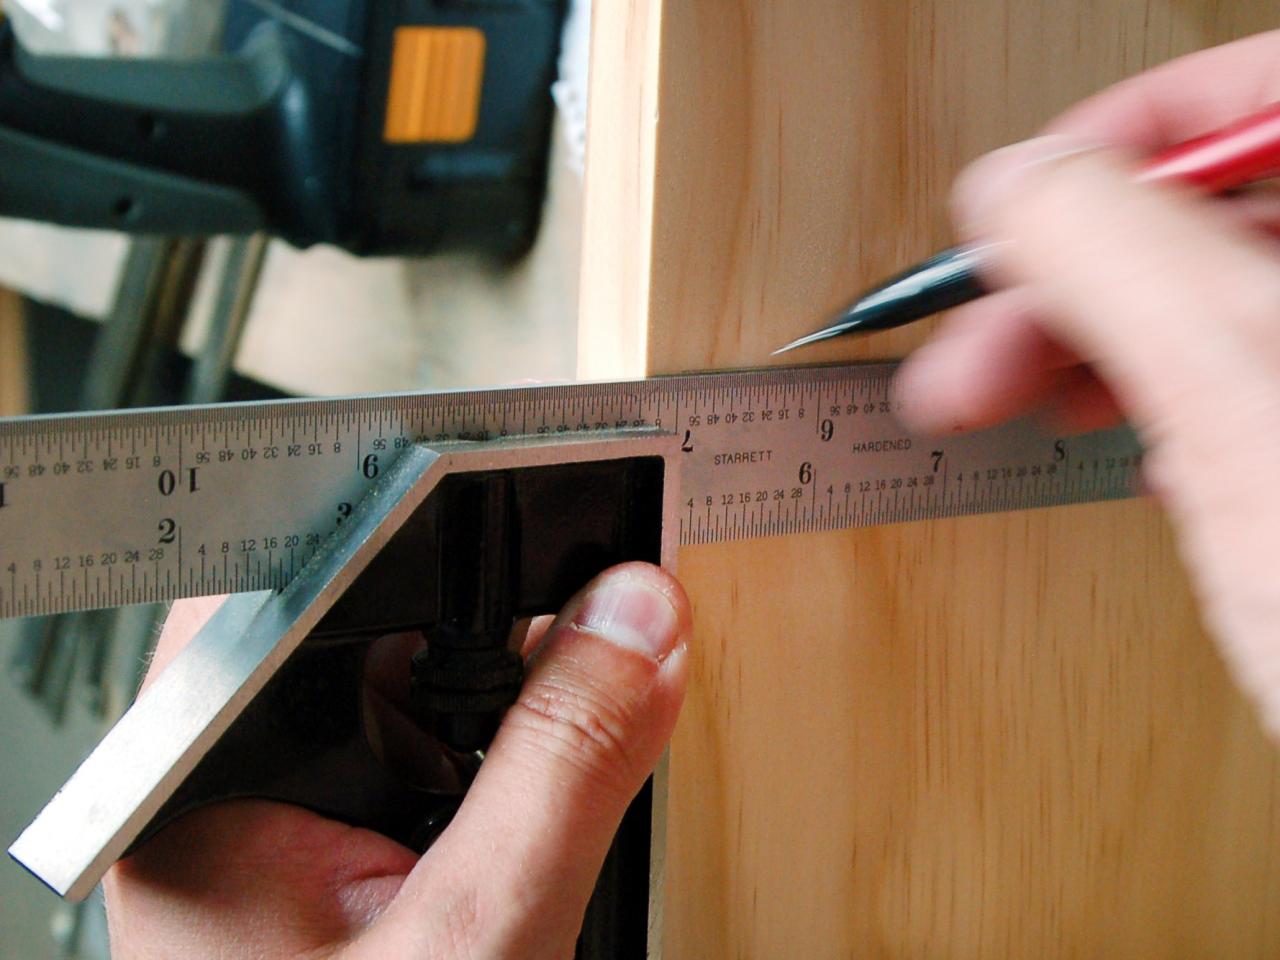
Lay both side pieces flat on a table with insides facing up. Using the diagram as guide, make pencil marks on both pieces of wood where shelves will be attached. Tip: If a power saw is unavailable, bring the lumber list to a local hardware store and have shelves cut there.

Step 2: Attach sides to shelves

Use diagram as a guide and loosely assemble the cabinet on a flat surface. Working top to bottom, line up shelf edges perfectly with pencil marks. The bottom shelf should be positioned two inches from the bottom of length pieces to leave room for the installation cleat. This 2-inch gap will be covered by base molding. Holding shelf firmly in one hand, drill pilot holes. Drive screws through pilot holes until shelf is tight against side. Repeat on opposite side and until all four shelf-length pieces are securely fastened to sides. If vertical piece is desired on the top shelf, center a piece of wood and attach with nails. Tip: Use woodworking clamp to hold sides and shelf snugly together.

Step 3: Attach beadboard backing

Position shelving unit face down on flat surface. With the lines on the beadboard running top to bottom, lay the beadboard face down on the shelving unit. Align the edges of the beadboard with the edges of shelving unit, and tack in place with nails.

Step 4: Attach the crown molding

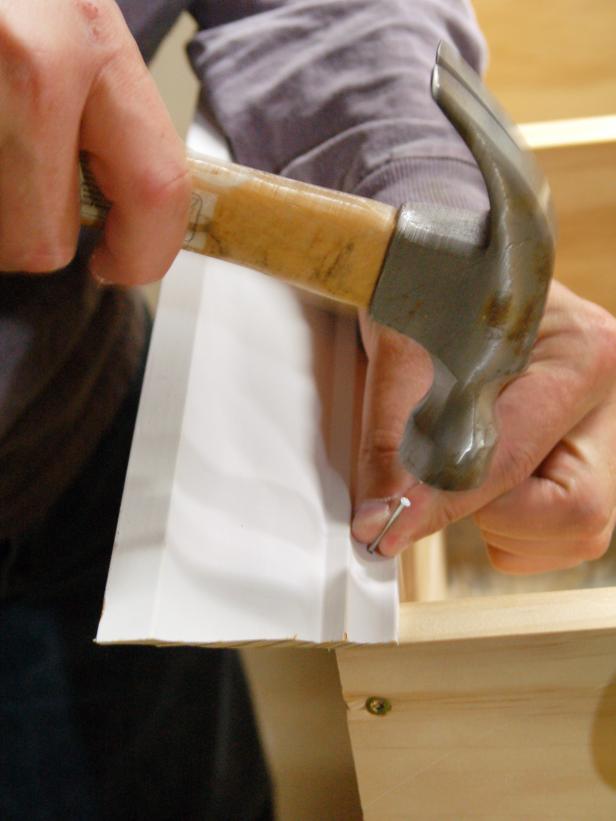
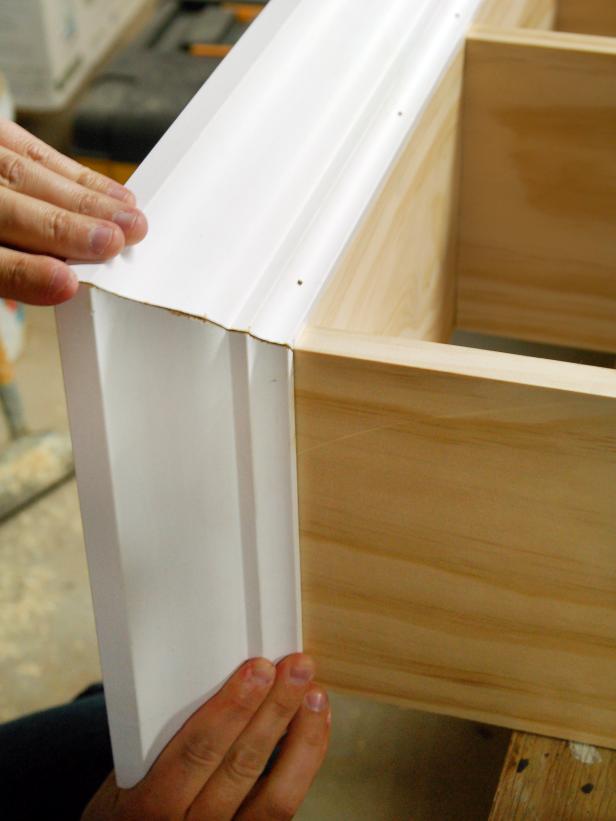
Making sure the inside miter is lined up perfectly with edges, hold the bottom of the front piece of crown molding flush to the top front edge of the shelving unit. Tack on with nails. Line up mitered edges perfectly and hold the bottom of the side piece of crown molding flush to the top side edge of shelving unit. Tack on with nails. Repeat process on opposite side. Tip: Consulting a crown molding “cheat sheet,” which offers detailed instructions and settings, use a compound miter saw or miter box to make cuts.

Step 5: Attach the base molding

Making sure that the top of the base molding is flush with the top of the bottom shelf, repeat above process on the bottom of the shelving unit. Base molding will extend a bit beyond bottom edge of side piece. Tack with nails.

Step 6: Putty and sand

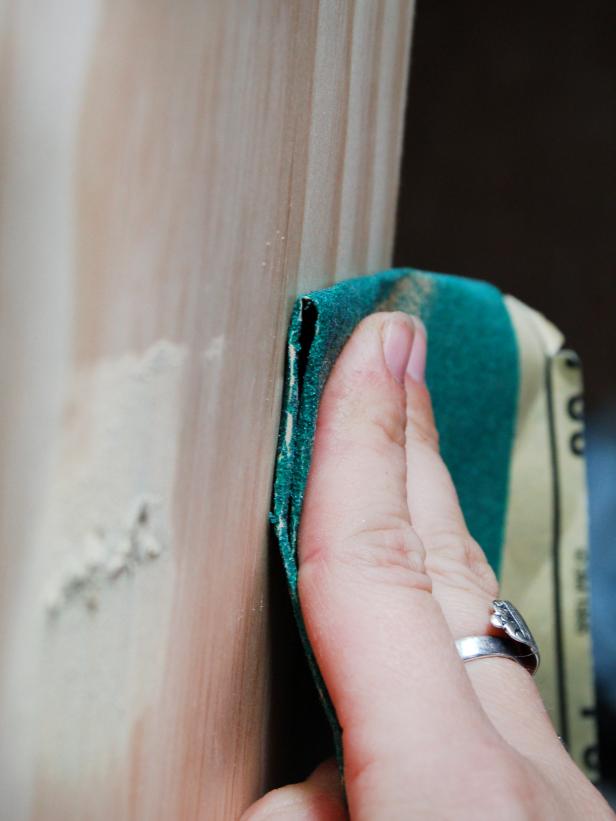
Use a putty knife and wood filler to fill screw and nail holes. Allow filler to dry and sand flush with surface.

Step 7: Prime and Paint

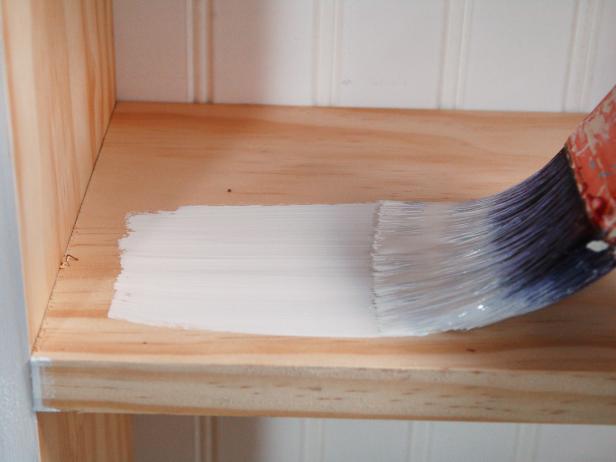
Apply all-purpose primer to shelf with a 2-1/2″ sash brush. Make sure to paint underside of shelf, since it may be visible once shelf is hung. Allow dry time and apply two coats of latex paint. Tip: Lightly sanding between coats will minimize appearance of brush strokes.

Step 8: Install the shelf

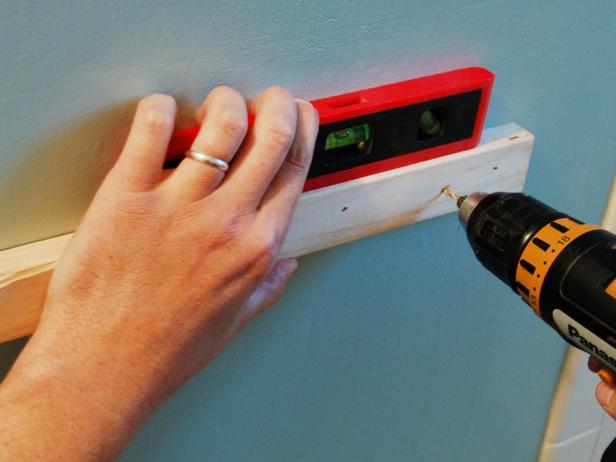
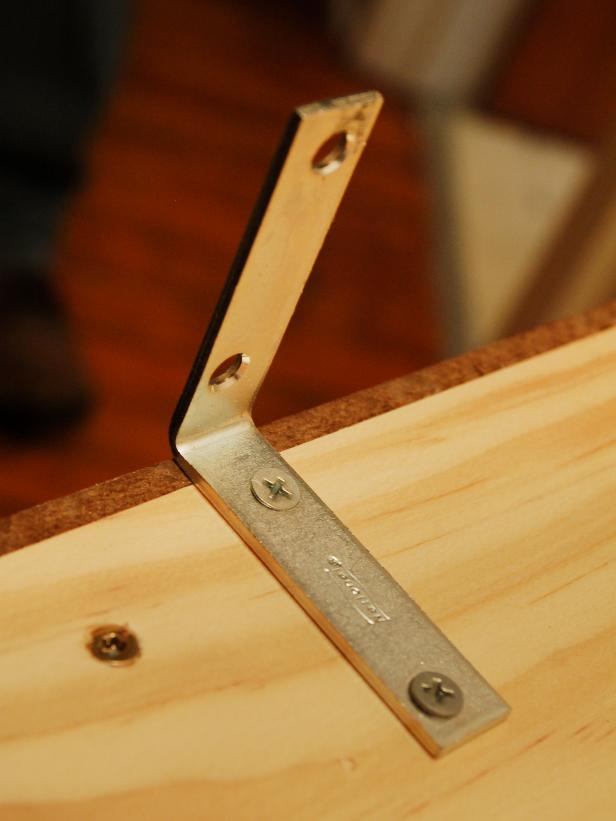
Determine placement of the cabinet. Position 1×2 board to fit on the wall under the bottom shelf and behind the base molding. Use a level to ensure the shelf will hang straight. Drill pilot holes through the board and wall. Insert screws to hold securely to the wall. Install the “L” bracket on top of the cabinet. Place the cabinet on the wall, resting on the cleat, and screw the “L” bracket into wall. Tack a few nails through the bottom shelf into the cleat to hold the shelf securely in place. Fill with baskets and toiletries. Tip: If installing in drywall, locate a stud to insert at least one screw in. If stud placement doesn’t line up with shelf placement, use wall anchors.

The original plan can be found at https://www.hgtv.com/design/rooms/bathrooms/cottage-bathroom-storage-cabinet

 
[email_link]

Simple Sink Console

Shopping List:

Wood:

  • 4 – 1×2 @ 8 feet long
  • 1 – 1×3 @ 6 feet long
  • 1 – 1×6 @ 6 feet long
  • 1 – 1×8 @ 10 feet long (NOTE: It is very important that your 1×8 is 7 1/4″ wide.  If it is not, purchase a 1×10 and rip it down to 7 3/4″.)
  • 2 – 2×2 @ 8 feet long
  • 1 – 2×2 @ 10 feet long
  • 1 – scrap of 1/4″ plywood at least 32″ x 12″
  • 1 – 1/2 sheet of 3/4″ plywood

Hardware and Supplies:

  • 3 – Knobs or Drawer Pulls
  • 1 – set of 12″ Bottom Mount Drawer Slides
  • 1 1/4″ Pocket Hole Screws
  • 2 1/2″ Pocket Hole Screws
  • 1 1/4″ Regular Wood Screws
  • 1 1/4″ Finishing Nails
  • Wood Glue
  • Wood Filler
  • Medium Grit Sandpaper
  • Primer or Wood Conditioner
  • Paint or Stain

Cut List:

Boards:

  • 6 – 1×2 @ 4 1/2″ – Drawer Trim (short)
  • 1 – 1×2 @ 7 1/2″ – False Drawer Trim (center)
  • 4 – 1×2 @ 15 3/4″ – False Drawer Trim (long)
  • 2 – 1×2 @ 32 3/4″ – Drawer Trim (long)
  • 1 – 1×2 @ 33″ – Front Trim
  • 4 – 1×2 @ 21 1/2″ – Side Trim
  • 2 – 1×3 @ 33″ – Vanity Top Trim
  • 1 – 1×6 @ 32″ – Drawer Back
  • 2 – 1×6 @ 11 1/4″ – Drawer Sides
  • 1 – 1×8 @ 32 3/4″ – Drawer Front
  • 1 – 1×8 @ 33″ – False Drawer Front
  • 1 – 1×8 @ 33″ – Back Support
  • 2 – 2×2 @ 33″ – Bottom Shelf Trim (long)
  • 2 – 2×2 @ 21 1/2″ – Bottom Shelf Trim (short)
  • 4 – 2×2 @ 35 3/4″ – Legs
  • 1 – 2×2 @ 33″ – Bottom Drawer Divider

Plywood:

  • 1 – 1/4″ Plywood scrap @ 32″ x 12″ – Drawer Bottom
  • 1 – 3/4″ Plywood @ 33″ x 21 1/2″ – Bottom Shelf
  • 2 – 3/4″ Plywood @ 21 1/2″ x 18 1/4″ – Sides

General Instructions:

Make sure to re-measure and check for square after every step.  Sometimes when building your measurements can be off very slightly, and it’s important that your numbers are exact.  (Especially when working with doors and drawers!)  Measure your available space before building this plan to make sure that it will fit.  Please read through the entire plan before getting started.

Plywood Cuts:

Here is a basic cutting diagram for your 3/4″ plywood.  When you purchase your plywood, have them cut the piece lengthwise at 21 1/2″.  That way, when you get it home, you only have to make one cut per piece.  (Plus, if you’re like me with our Matrix hatchback, this way it will actually fit in your car!)

Step 1:

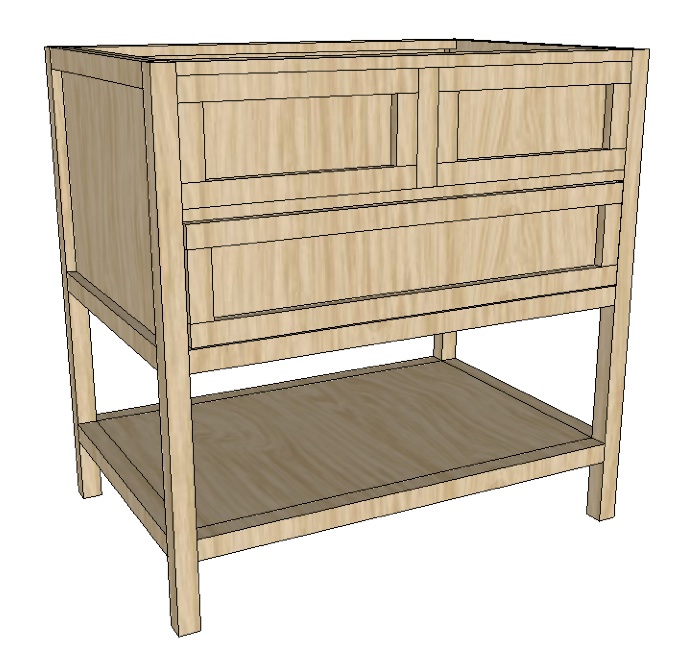
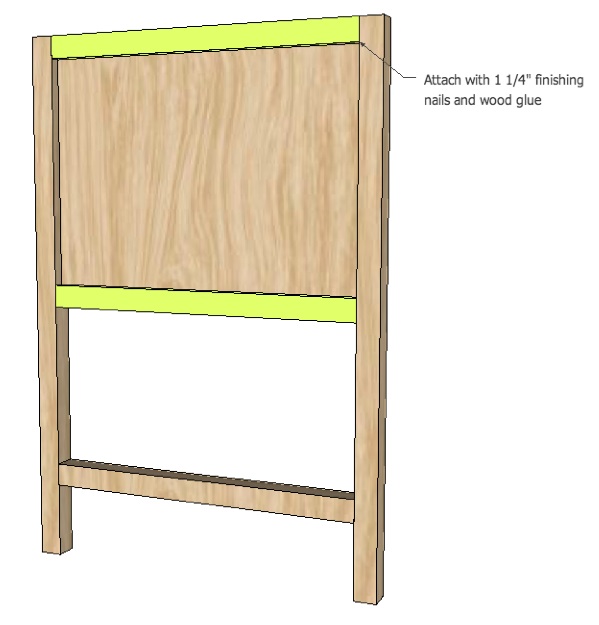
Assemble the side of the vanity as shown above.  Make sure that there is a 3/4″ gap between the front of your plywood and the edge of the 2×2.  Also, make sure that your pocket holes go on the inside of what will be the cabinet, I just marked them on the outside so that you could better see where they go.

Step 2:

Add trim to the top and bottom edge.  Repeat steps 1 and 2 for the second side.

Step 3:

Here’s the fun part where it starts to look like something.  Attach the shelf, back support, and one of the pieces of the vanity top trim as shown above.

Step 4:

Add 2×2 bottom shelf trim using the pocket holes that you pre-drilled in the previous step.  (It will be easier if you flip the whole piece over while completing this step.)  The top of the 2×2 should be flush with the top of your plywood.

Step 5:

Flip your sink console so that you are now working on the front side.  Make sure to drill your pocket hole screws on the INSIDE to hide them.  Leave a 3/4″ gap on the front of your false drawer front to allow for trim in the later steps.

Step 6:

Add your second piece of top trim above your false drawer front.  The front of the 1×3 should be flush with the edges of your 2×2 legs.

Step 7:

When adding the bottom drawer divider, it is important that your measurements are exact.  Before adding this piece, double check the width of your 1×8 drawer front to once again confirm it is 7 1/2″ wide.  Some of them come as 7 1/4″, which is why I notated in the shopping list to make sure your board is wide enough.

A trick to making sure your board is exactly 7 3/4″ from the bottom of your 1×2 is to cut a scrap piece of wood to 7 3/4″ and use it as a “spacer” while screwing in your bottom drawer divider.

Step 8:

Build your drawer interior as shown above.

Step 9:

Install your drawer slides and insert your drawer.  When installing your slides the interior of the drawer should sit right behind your 2×2 bottom drawer divider, leaving room for your drawer front and trim. To install your drawer front, center it into the space, leaving a 1/8″ gap all the way around it, and secure it with finishing nails.  Once it’s tight enough to pull out, remove the drawer and further secure it using the pocket hole screws that you pre-drilled in the previous step.

Step 10:

Add all of your drawer trim. Once you have finished your piece, add your knobs/drawer pulls.

Finishing:

Finish your project as desired.  Make sure to sand it down with medium grit sand paper and fill in all your holes with wood filler before tackling that paint or stain.

The original plan can be found at http://www.oldpaintdesign.com/2012/05/28/simple-sink-console/

 
[email_link]
 

Bathroom Cabinets & Shelves

Gridview


Hanging Bathroom Shelf

Supply List:

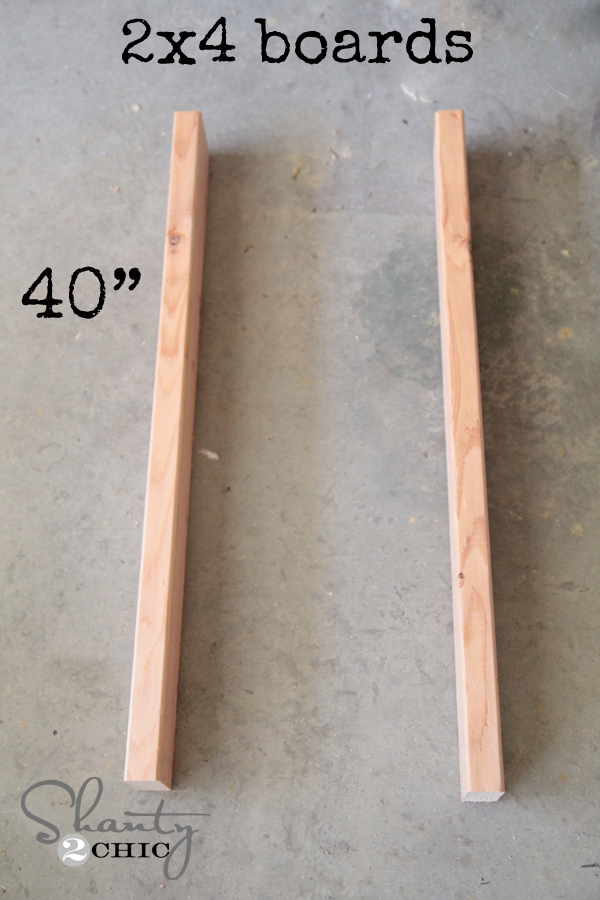
  • 1 – 2x4x8 whitewood or pine board
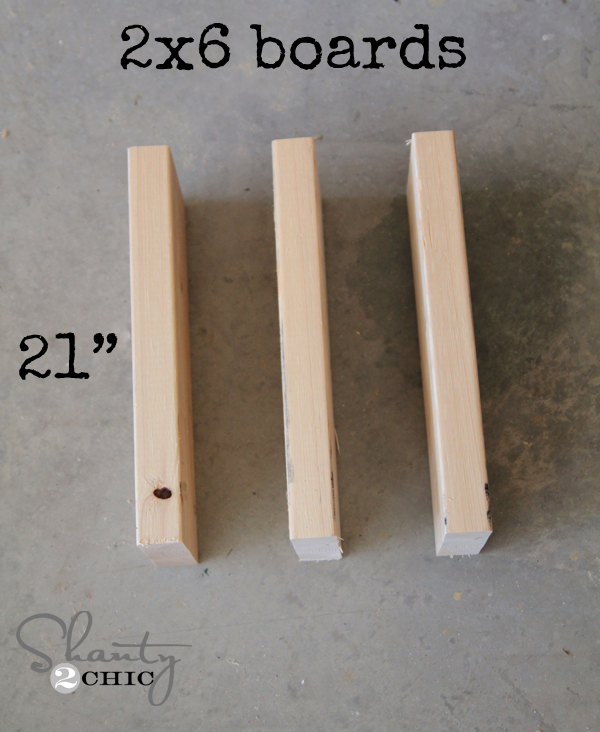
  • 1 – 2x6x8 whitewood or pine board
  • Rope

Cut List:

  • (2) – 2 x 4 @ 40” long
  • (3) – 2×6 @ 21” long

I used my Kreg Jig to attach my shelf.  This is super easy to do. If you don’t own a Kreg Jig (yet) you can also attach the boards by using 2.5″ wood screws through the outside boards and into the 2×6 shelf boards.  If you do this, make sure to pre-drill first, and cover the head of the wood screw with wood putty before staining.

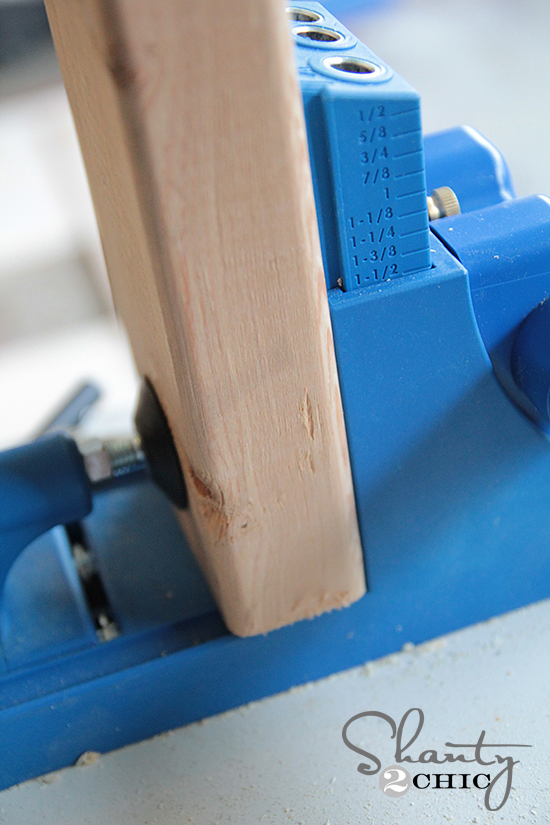
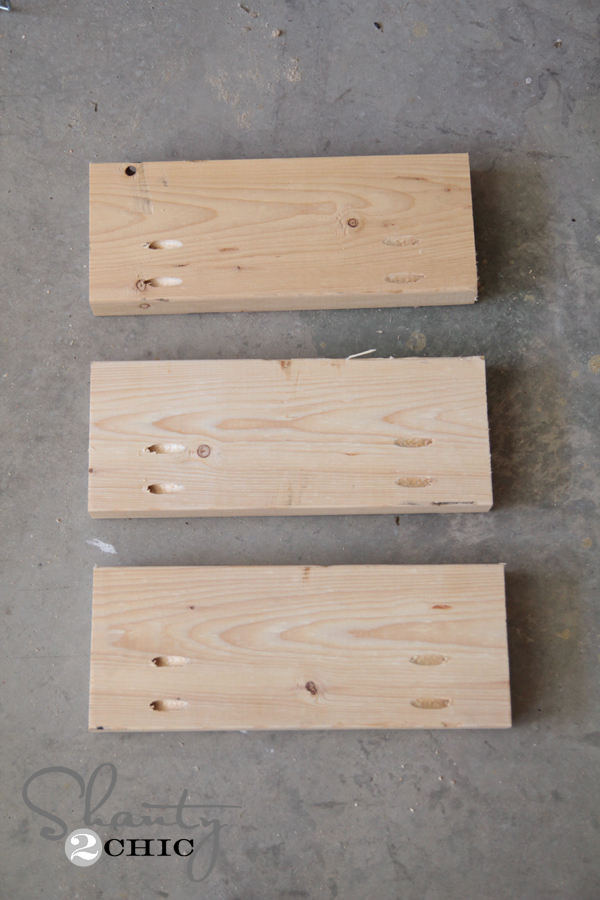
You can see here I have set my measurements to 1.5″ pocket holes because I am joining 2×4 wood and the thickness of the wood is 1 1/2″. I put my pocket holes in my 2×6 boards.  This is what they looked like all finished and ready to attach.

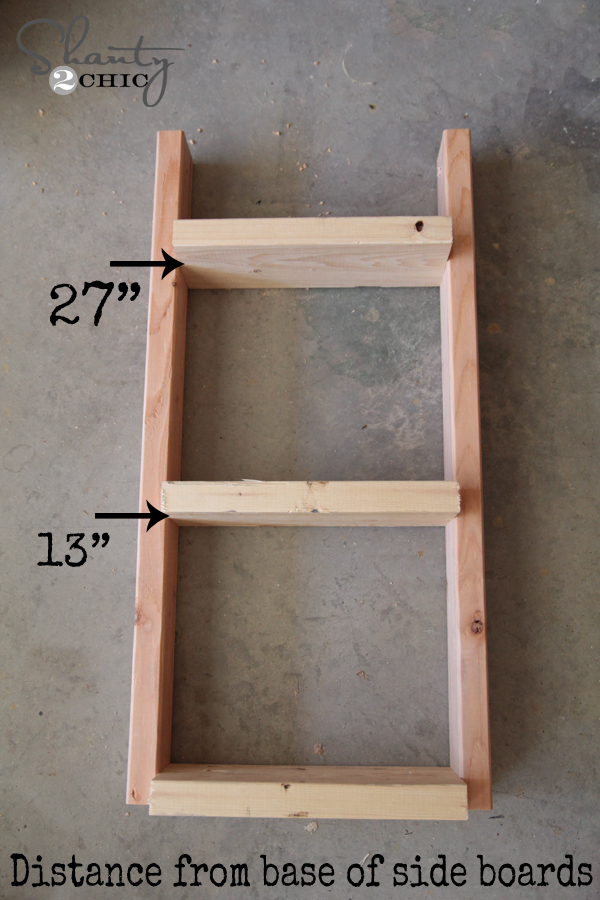
Next I used 2.5″ pocket hole screws to attach the pieces all together.  Here are the shelves attached. One is at the base, one is 13″ from the bottom and the other is placed at 27″ from the bottom.

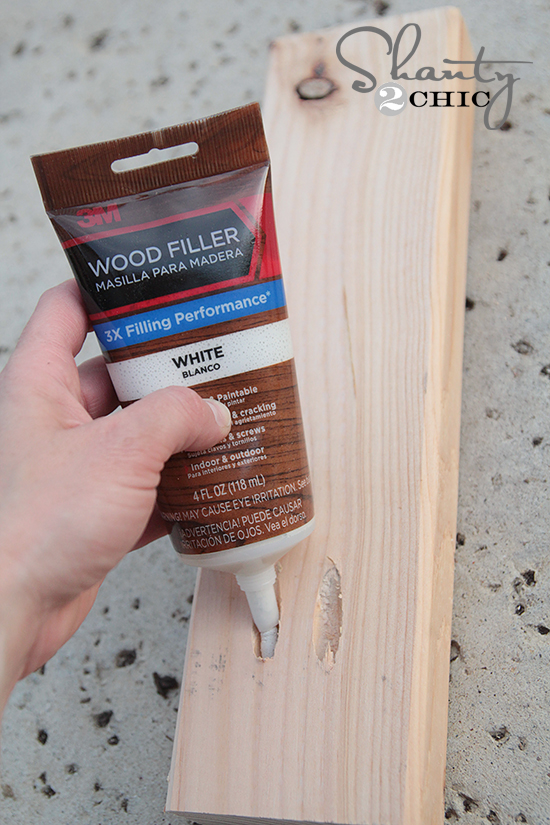
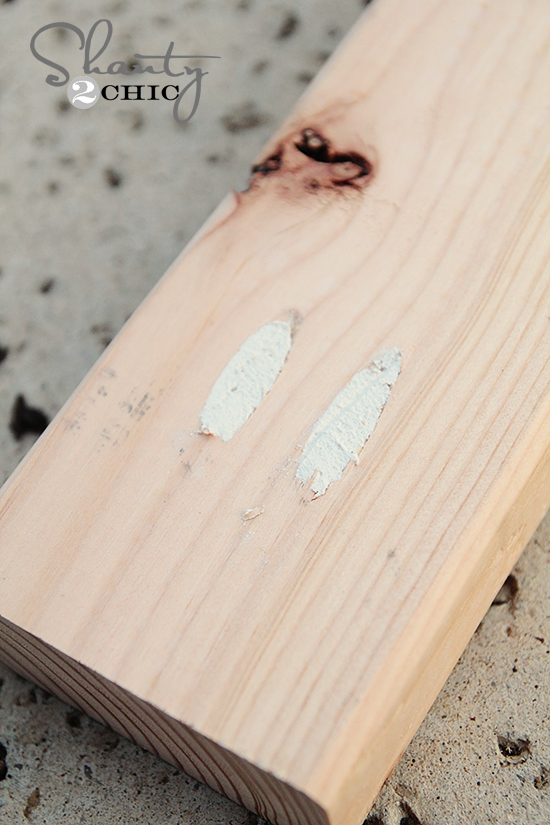
I have found a great way to fill pocket holes and other holes is using 3M Wood Filler! Just squeeze some out into each hole.

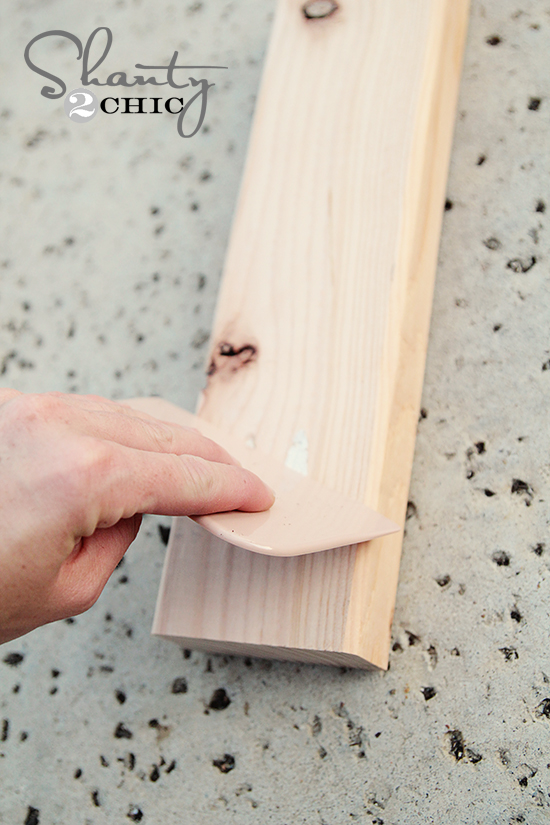
Use a scraper to even it out.

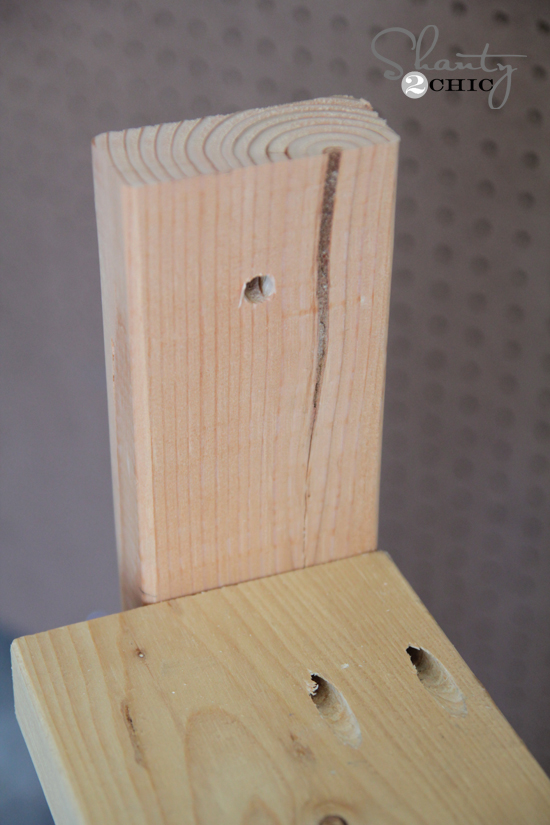
Next I used my drill to place a 3/8″ hole in the top of each side piece.

To finish this shelf, I used one of my very favorite stains. Rust-Oleum Ultimate Wood Stain in Dark Walnut. You just brush it on with a foam brush and use an old rag to wipe it off… Easy!  You can find this stain at Lowe’s or Walmart.

Finally, I used a piece of sisal rope which I also found at Lowe’s to hang it on the wall.  I just ran the ends of the rope through the holes at the top of the shelf and tied knots on each end.  I used good anchors in my wall since I wasn’t attaching this to a stud.  I found my hook at Lowe’s

The original plan can be found at https://www.shanty-2-chic.com/2013/08/bathroom-shelf.html

 
[email_link]
 

Bathroom Shelf

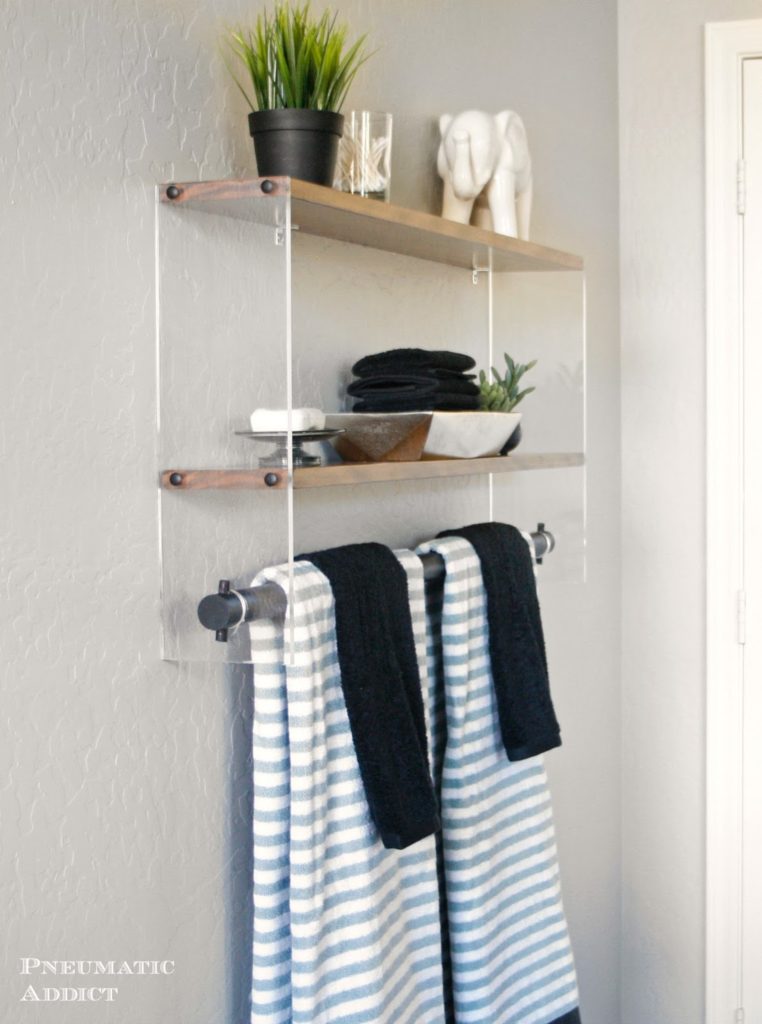
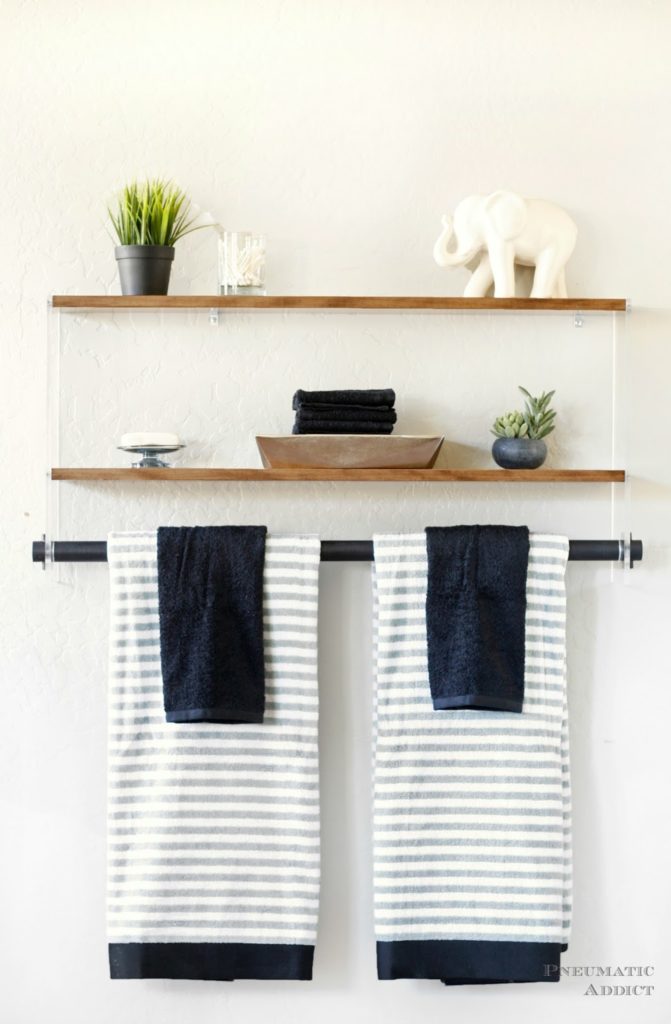
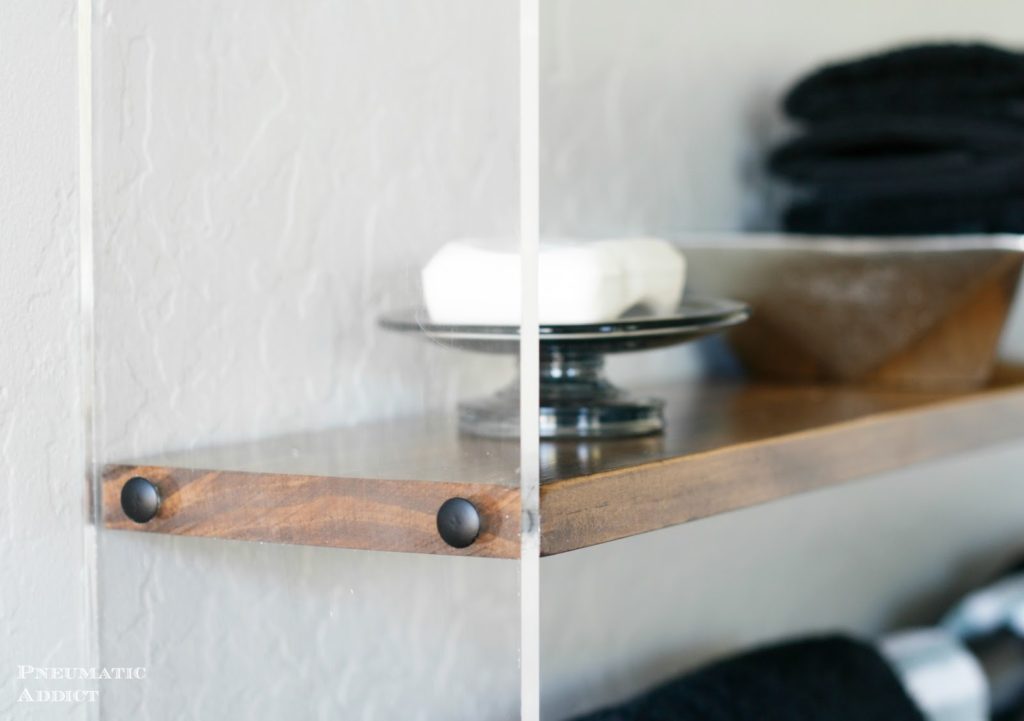
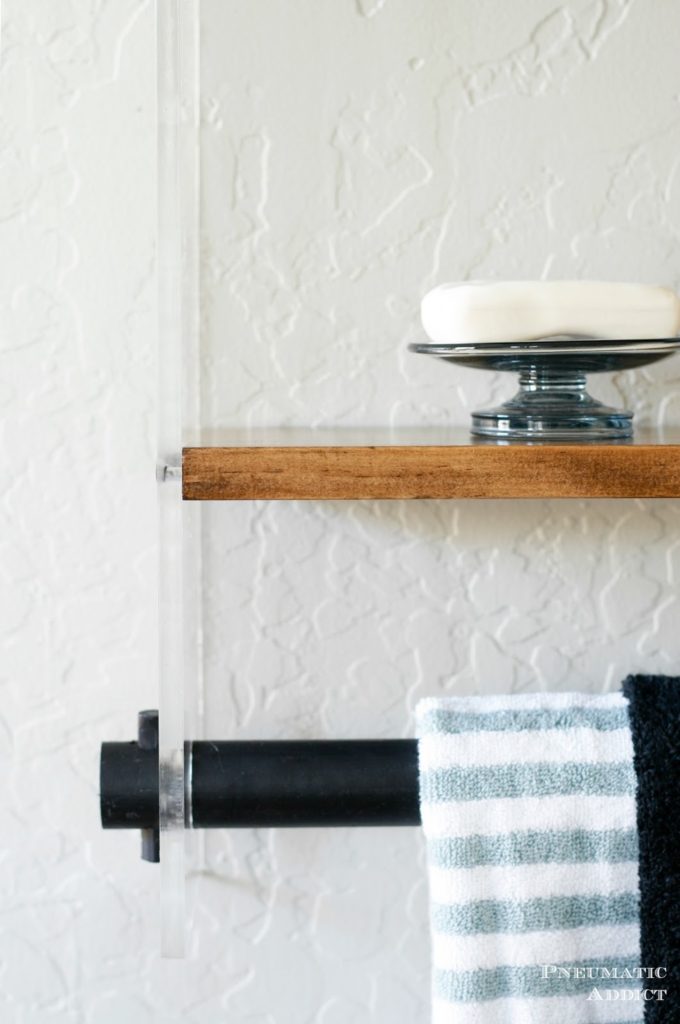
My boys’ bathroom is a disaster, so my #OrganizeBuildChallenge submission is a shelf/ towel bar hybrid, combining wood, paint, and clear acrylic sheets. Although the idea of a new material, like acrylic, may seem intimidating but I promise you, it went together so easily! The whole project took me a single afternoon.

Materials List:

  • (2) 5-1/2″ x 18″ x 3/8″ acrylic sheet
  • (1) 1 x 6 x 72″ – wood board
  • (1) 1-3/8″ x 48″ – wood closet rod
  • (1) 3/8″ x 12″ – wood dowel
  • (8) *2″ wood screws
  • (8) *screw head covers
  • (4) *3/4″ L-brackets


Cut List:

  • (2) 1 x 6 @ 36″
  • (1) 1-3/8″ closet rod @ 38-3/4″
  • (2) 3/8″ wood dowel @ 2-1/8″

Step 1:

Cut and finish your pieces and allow to fully dry. You can cut the acrylic sheets yourself, or request them to be cut from your supplier. I found a company on Ebay which was inexpensive and didn’t charge for cutting.

Step 2:

Start by drilling and prepping your acrylic side panels. Leave the protective film on the acrylic as long as you can. Measure 2″ from the bottom edge, and center between the sides and make a mark. Using a 1-3/8″ forstner drill bit, make a hole.

Step 3:

3/8″ from the top edge, pre-drill two holes though the acrylic and into the ends of the first wood board. Counter-bore the holes and attach the pieces with 2″ wood screws.  Measure 10″ down from the bottom side of the first shelf and align your second board. Pre-drill, counter-bore and attach with screws.

Step 4:

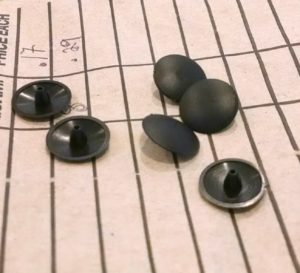
A cool and simple way to address the exposed screw heads is to cover them with screw head caps. I found a set of matte black covers for $0.29 at local True Value.

You just simply tap them into place and the screws instantly look much better.

Step 5:

Insert the finished closet rod through the holes, leaving 1″ overhang on each end. Drill a 3/8″ hole, vertically through the rod, just outside the acrylic.

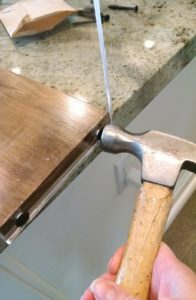
Step 6:

Use a mallet to tap wood dowel pins till centered through holes.

Step 7:

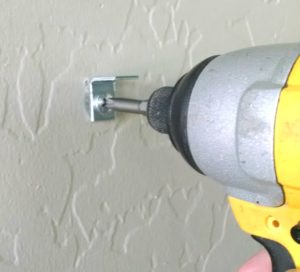
The shelf is built and ready to hang on the wall. To mount my shelf, I attached four, 3/4″ L-brackets to the wall, then placed and attached the shelf.

And here’s the final look!

The original plan can be found at http://www.pneumaticaddict.com/2016/01/wood-and-acrylic-bathroom-shelf.html

 
[email_link]

1 2