Towel Tower
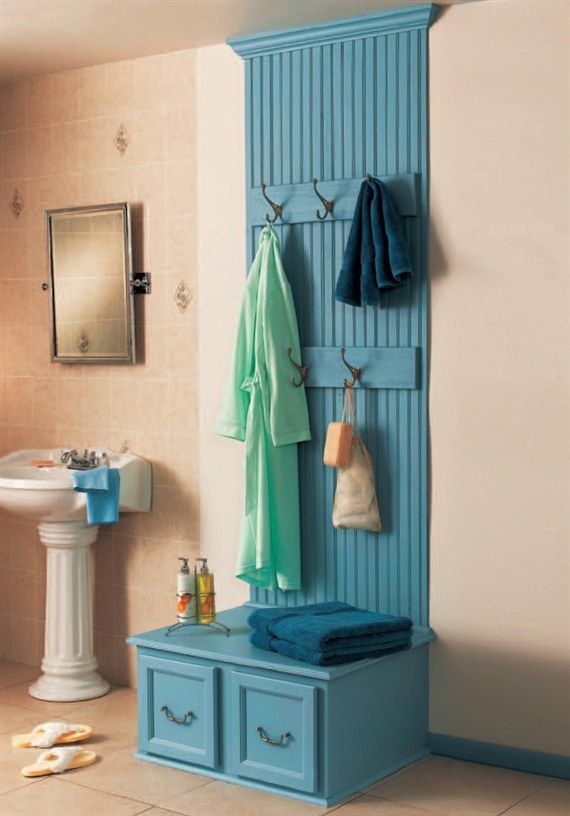
If there’s one place in the house that collects everybody’s stuff, it’s the bathroom. Towels, clothes, cleaning supplies, even laundry. But some fancy design work using a refrigerator wall cabinet and some cool carpentry create a niche spot that can provide a central location for all kinds of different items. Suitable even for small bathrooms, this towel tower also adds texture and color to the space. Another added benefit to this project is the seating provided by the seatboard top on the cabinet. The beadboard backing for this project is made with painted 3⁄8″-thick tongue-and-groove pine, sometimes called carsiding. more advanced carpenters may prefer to make their own custom beadboard from hardwood and give it a custom wood finish.
The base for this project is an over-the-fridge-size wall cabinet (sometimes called a bridge cabinet). At 15″ high, it is within the range of comfortable seating heights. But if you prefer a slightly higher seat (and many people do), build a 2 × 4 curb for the cabinet to rest on. To conceal the seam where the towel tower meets the floor, we trimmed around the base with base shoe trim, mitering the corners. We used the same trim stock to conceal the gap where the seatboard meets the tongue-and-groove paneling. here, however, we added small miter returns to the ends of the base shoe.
Step 1:
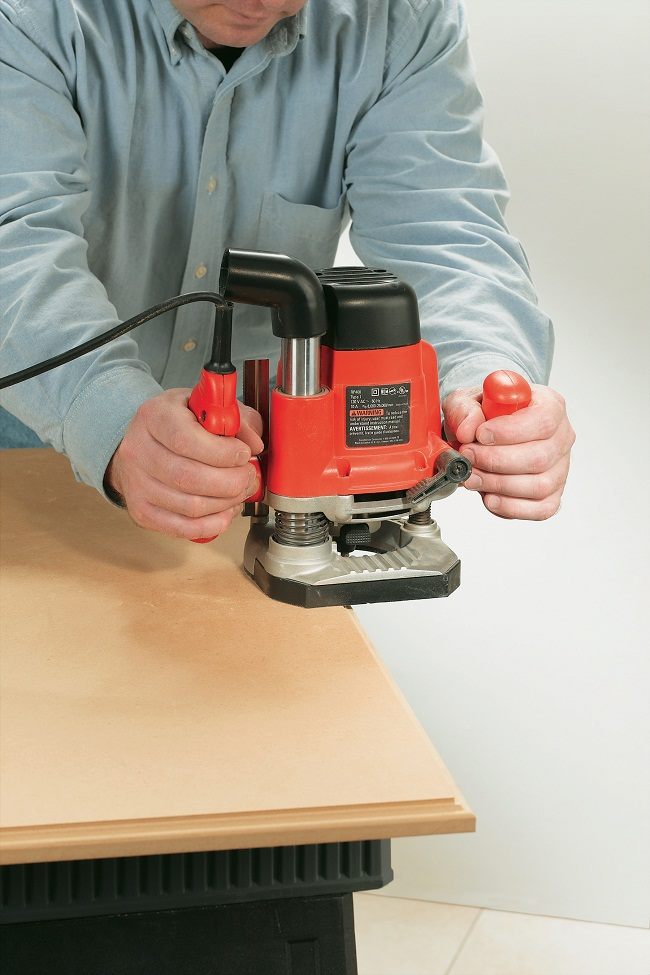
Rout a profile, such as an ogee or roundover, into the sides and front of the seatboard. Use a router table if you have one, otherwise hand-machine it with a piloted profiling bit.
Step 2:
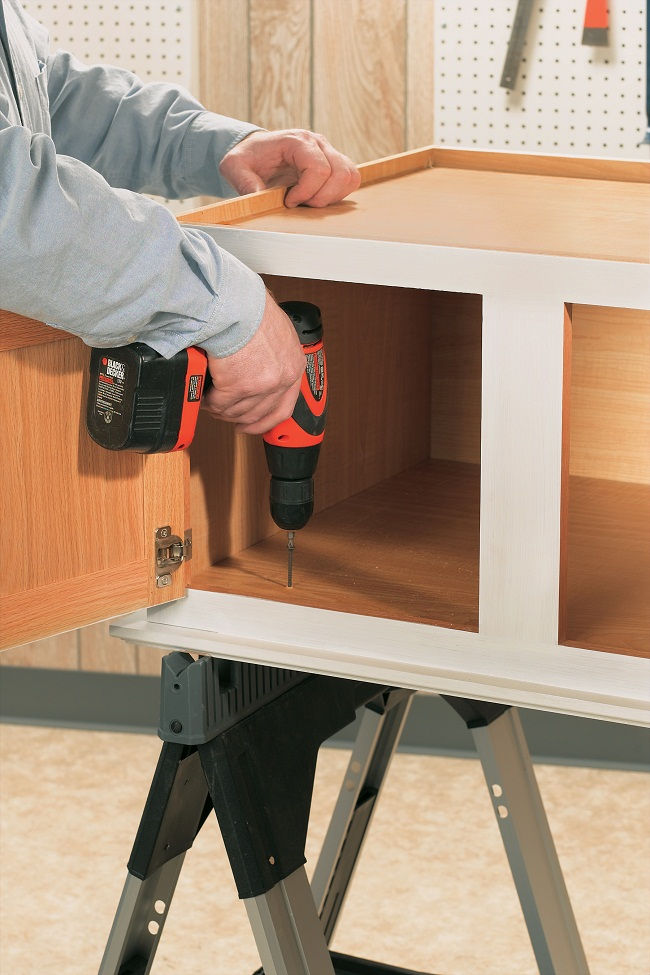
Flip the cabinet upside-down so you can more easily attach the seatboard with screws.
Step 3:
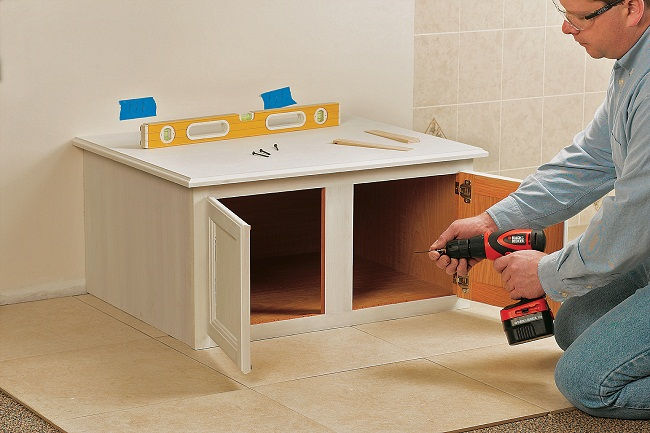
Drive screws through the back of the cabinet at the marked wall stud locations.
Step 4:
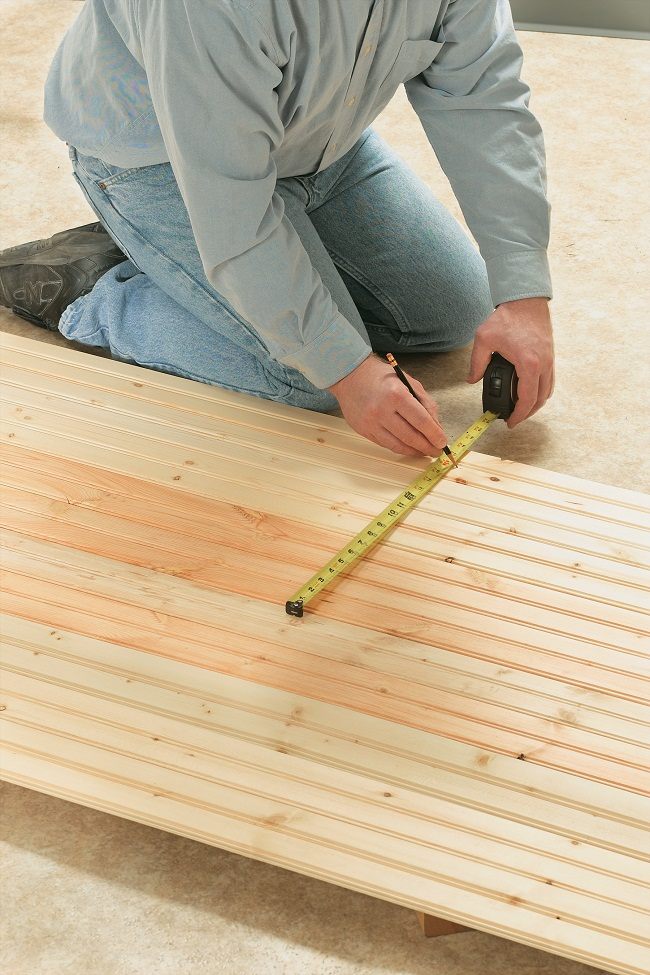
Lay out the tongue-and-groove carsiding boards in a row, with the tongues fitted into grooves. Measure out in one direction (half the width of base cabinet) from a midpoint line in the center board.
Step 5:

Clamp a straightedge over a tongue-and-groove board, placing a piece of scrap plywood underneath as a backer. Ripcut the board to the correct thickness for the filler piece.
Step 6:
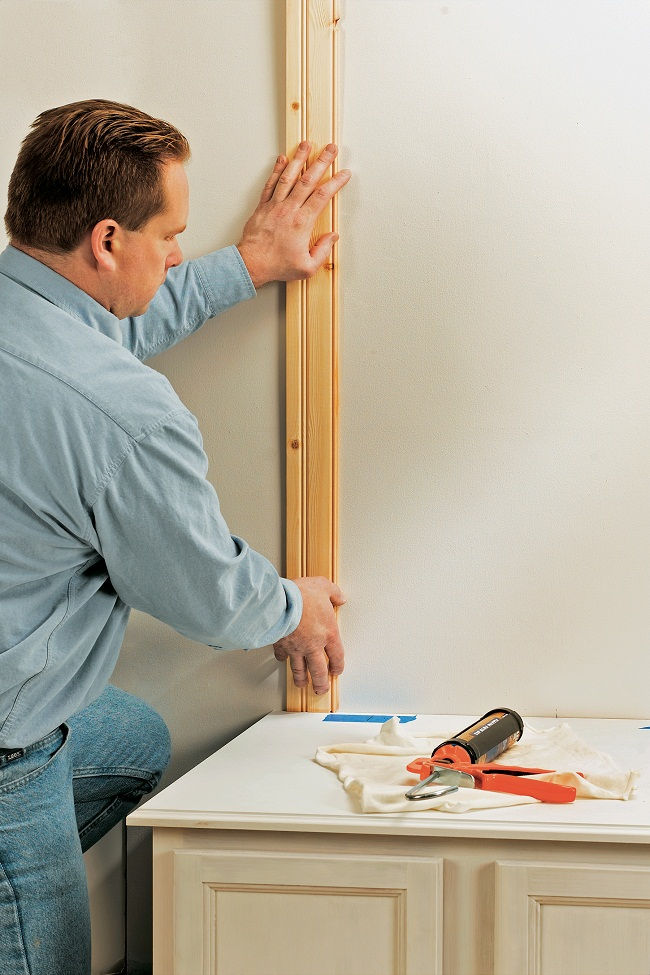
Press the trimmed filler board to the wall, seating it in construction adhesive, at the left edge of the panel area.
Step 7:

Drive a pneumatic brad through the tongue of one of the far-right boards, and into a marked wall stud.
Step 8:

Install quarter-round or base shoe molding at the top edge of the seatboard where it meets the carsiding. Tie the molding back to the wall with mitered returns.
Step 9:
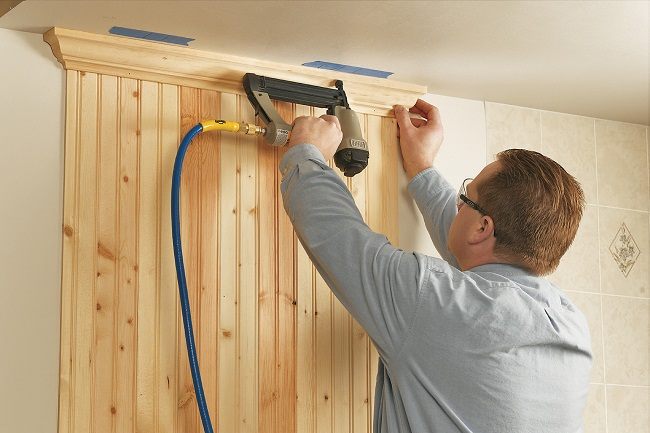
Attach crown molding at the top of the project, creating mitered returns at the ends. Mark the ceiling joists with tape.
Attach towel hooks where desired and finish it with either paint or stain.
The original plan can be found at https://www.blackanddecker.com


